Last updated November 17, 2026






Free written scope consultation - allowances, timeline, and change-order rules on paper before a single trade is scheduled
Bathroom Remodeling Troubleshooting: Common Problems and How to Fix Them
Grout cracks in a tiled shower within 12 months of installation are almost never a grout problem. They’re a substrate or waterproofing failure, and replacing the grout without fixing the cause is money poured into a wet wall. That’s the counterintuitive part most homeowners learn too late: the visible defect is a symptom, and the real damage is happening behind the tile where you can’t see it. By the time the wall softens or the shower pan stains, the repair runs two to three times the original job cost. This guide walks through the common bathroom remodel problems we see in Irving, how to diagnose whether a defect is cosmetic or structural, and what to do next.
Quick Answer
Most bathroom remodel failures are waterproofing failures hiding under finish work, not finish failures. If you see grout cracking, efflorescence (the white mineral powder that leaches through tile), or tile movement within the first two years, the substrate or waterproofing behind the tile was likely installed wrong. A surface repair will fail again. The fix is diagnosing whether it’s normal settling (acceptable) or structural substrate failure (the contractor’s responsibility) and documenting it in writing before the warranty window closes.
Styles & brands we work with
- Kitchen remodeling
- Bathroom remodeling
- Home additions & ADU
- Roofing
- Windows & doors
- Driveway & pavers
- Fence
Table of Contents
- How do you diagnose whether a bathroom problem is surface or structural?
- What does proper shower waterproofing look like behind the tile?
- What inspection steps can you take before the walls close?
- What plumbing rough-in mistakes show up after a remodel?
- How do you document defects within a warranty window?
- What’s the difference between settling movement and substrate failure?
- What do these repairs cost in Irving?
- Common Mistakes to Avoid
How do you diagnose whether a bathroom problem is surface or structural?
Before you call anyone, run this three-step check. It takes ten minutes and tells you whether you’re looking at cosmetic wear or something that goes deeper.
- Tap the tile. Use a plastic screwdriver handle or your knuckle and tap along the wall. A solid, firm “thud” is normal. A hollow, drummy “pop” means the thinset (the adhesive layer under the tile) has lost its bond. Isolated hollow spots across a few tiles can happen. A whole row or a patch the size of your hand is a substrate problem.
- Check the grout lines for pattern. Hairline cracks scattered randomly are often normal cure shrinkage. Cracks that run in straight lines, follow the seams of the cement board behind the tile, or reappear after regrouting point to movement in the substrate.
- Look for efflorescence and soft walls. White, powdery staining that returns after you clean it means moisture is passing through the tile assembly and pushing mineral salts out. Press on the wall near the shower valve or the base of the tub surround. If it gives, the drywall or greenboard behind the tile has already been wet for months.
Any single hollow patch, recurring crack, or soft wall is enough reason to stop treating this as a cosmetic touch-up. In Irving, we see this pattern constantly in homes built during the 1990s and early 2000s boom, where tile was often set directly on drywall in tub surrounds. That assembly was never designed to handle the moisture load of a family bathroom used twice a day.
What does proper shower waterproofing look like behind the tile?
A properly built shower has a continuous waterproofing layer that drains to the shower pan. If you’re remodeling, you should be able to recognize what that looks like before tile ever goes up. There are two common methods, and both work when done right.
The surface-applied method uses a liquid or sheet membrane painted or bonded directly over the cement board substrate (the moisture-resistant layer behind your tile). This is the more modern approach and the one that’s easier to inspect, because the membrane color is visible and continuous across the walls, corners, and the shower bench.
The traditional method relies on a pre-sloped PVC pan liner with a two-stage drain, backed by cement board with a vapor barrier stapled behind it. It works, but only when the pre-slope is actually built. The most common failure we find is a liner laid flat on the subfloor with no slope at all, so water pools under the shower floor and eventually wicks up the walls.
- Waterproofing should extend at least 6 inches above the shower curb and full height on the walls inside the shower.
- Corners and seams should be reinforced with a fabric membrane, not just painted over with liquid.
- The shower drain should be a two-stage clamping drain with the liner clamped between the stages.
- No fasteners should penetrate the waterproofing below the level of the shower curb.
- A flood test (24 to 48 hours of standing water in the pan before tile) is standard practice on a proper installation.
Our technicians have up to 22 years of experience, and the shower rebuilds we’re called in to rescue most often failed at the flood test stage. Someone skipped it. Water test records are one of the few written proof points you can actually request from a contractor.
What inspection steps can you take before the walls close?
The single most valuable hour you’ll spend on your bathroom remodel in Irving is the inspection before tile goes up. Once the tile is set, every diagnostic question becomes a demolition question. Here’s what to ask for and check while the framing and substrate are still exposed.
- Confirm the substrate. Cement board, not drywall or greenboard, behind every wet area. Greenboard, despite its name, is not a waterproofing product and should not carry tile in a shower.
- Look for the flood test record. Ask for it in writing. A pan that held water for 24 to 48 hours and didn’t drop is a genuine fail-safe. A pan that was never flooded is unproven.
- Verify the waterproofing continuity. Run your hand along the seams, corners, and the shower niche. Every transition should be taped and coated with membrane. A common miss is the niche edges and the valve cutout.
- Check the framing. A wall that flexes when you push on it before tile will flex more once 50 pounds of tile and thinset are hung on it. Framing should be straight and solid.
- Photograph everything. Your phone is your best insurance. Wall studs, plumbing rough-in, waterproofing, and the drain before tile. These photos are the evidence you’ll rely on if a defect appears later.
It’s worth saying plainly: a contractor who resists a mid-project inspection, or who can’t produce a flood test record, is telling you something about the quality of the build before you ever see the finish tile. That’s the moment to slow down, not speed up.
What plumbing rough-in mistakes show up after a remodel?
Plumbing problems don’t show up on the first day. They show up three weeks to three months after you move back into the bathroom, and they almost always trace back to rough-in work done during the remodel. Here’s what we see in Irving and what caused each one.
- A slow drain. Usually a drain line that wasn’t properly re-pitched during relocation, or a trap arm joint that’s slightly uphill. The water moves, but slowly, and over months the line scales. A drain that runs slow from day one was wrong from day one.
- A toilet that runs or flush-cycles by itself. A fill valve set at the wrong height, a flapper chain that’s too tight, or a flange that wasn’t set flush with the finished floor. The most common cause after a remodel is a flange mounted too high, which creates a seal gap nobody noticed until the wax ring started leaking.
- Water pressure drop in the shower. Old galvanized supply lines still in the wall, or a new valve with debris from the rough-in stage lodged in the cartridge screen. A line that was tested and flushed before the valve cartridge went in rarely has this problem.
- A hidden leak at the shower valve. The valve body has to be sealed into the waterproofing behind the tile. If the escutcheon (the trim plate around the handle) is the only thing keeping water out, the wall behind it is getting wet every time you shower.
Wet area waterproofing is licensed plumbing
The plumbing rough-in inside a wet wall is licensed plumbing work. In Irving and across North Texas, permits are typically pulled for the plumbing, electrical, and structural portions of a bathroom remodel. A contractor who handles that permit is also the one whose name is on the inspection record. That’s a real advantage when something goes wrong down the line. If you’re still sorting out whether permits will be pulled, our general contractor page for Irving walks through what gets permitted and why it matters for your warranty.
How do you document defects within a warranty window?
Documenting a defect isn’t adversarial. It’s how you get a contractor to actually fix the problem, because the written record is what any honest warranty process runs on. Whether you’re working with Penhallow or anyone else, here’s the process we recommend.
- Photograph the defect in three states. Close-up, mid-range (so the location in the bathroom is clear), and wide (showing the wall and surrounding fixtures). Add a ruler or coin for scale. Date the photos.
- Photograph the conditions at the time. If water is pooling, if grout is staining, if the wall feels soft, photograph that. Conditions matter more than the finish defect.
- Write the notice and send it by email, not text. Include: what you see, when you first noticed it, photos attached, and a request for a callback by a specific date. Text messages disappear in contractor phone upgrades. Email doesn’t.
- Reference the written guarantee if you have one. Your written price and guarantee documents are the contract. Quote the language. Name the day the work was completed.
- Get the contractor’s response in writing. When they agree to come out, ask for the date and time in an email or text confirmation. Verbal-only follow-up is the most common way a legitimate claim goes unaddressed.
Every Penhallow remodel comes with the 365-Day Done Right Promise in writing. If the work fails inside that window, we come back and fix it at no charge, and there’s no service call or re-inspection fee on the return visit. It’s not a favor we extend; it’s the written commitment that gets handed to you before any work begins.
What’s the difference between settling movement and substrate failure?
Not every crack in a tile bathroom is a failure. A little movement is normal. The tricky part is knowing which one you’re looking at, because the two have very different consequences.
Normal settling movement looks like hairline cracks (under 1/16 inch) in the grout, usually at inside corners where two walls meet, or above a door frame. These cracks appear in the first year as the structure and materials finish curing. They’re cosmetic. They can be regrouted, and they typically stop moving. A small change in the grout line at a wall-to-wall joint is expected, because building codes require movement joints at those transitions.
Structural substrate failure looks different. Cracks run wider than 1/16 inch, or they follow a straight line across the tile field. The tile is loose when you tap it. The wall behind it feels soft. Sometimes a floor tile will “tent” or lift slightly at a grout joint. That’s the substrate moving under the tile, and it’s almost always the contractor’s responsibility, not the household’s. A waterproofing assembly that was installed to spec doesn’t move like that inside of 12 months.
The relevant test is time and pattern. A crack that appears in the first six months and stops is settling. A crack that appears in the first six months and keeps growing, or reappears after regrouting, is substrate failure. And if you’re documenting this on a Penhallow project, both cases fall inside the 365-Day Done Right Promise. We’d rather see the wall opened up and the actual cause diagnosed than regrout a wall that’s going to fail again in three months.
What do these repairs cost in Irving?
These are the ranges we see in the Irving market for repair work after a failed bathroom remodel. The variation is driven mostly by how much tile has to come out to expose the failed substrate, and whether the plumbing rough-in has to be touched.
- Regrout (surface only, no failure behind the tile): $400 – $900 for a standard shower surround. Only appropriate when the diagnosis confirms the substrate is intact.
- Grout removal, re-bed, and regrout with crack repair: $700 – $1,500. A step up from cosmetic regrout, but only correct when the waterproofing is intact.
- Full shower tear-out and rebuild (true waterproofing failure): $6,500 – $18,000 depending on tile choice and fixture specs. This is the repair that the cosmetic regrout was supposed to avoid.
- Shower pan replacement (liner and drain only): $3,200 – $7,500. Usually done when the pan failed but the walls are still sound.
- Plumbing rough-in correction (drain or supply): $800 – $3,000, depending on how much wall has to be opened and how much of the line has to be rerouted.
- Toilet flange or wax ring correction after remodel: $180 – $450.
- Shower valve cartridge and screen cleaning (pressure loss): $180 – $400.
The pattern to notice: the cosmetic fixes are cheap, and they often just kick the real problem down the road. A $600 regrout that comes back in 18 months joins the $8,000 tear-out you avoided the first time, and now you’ve paid both. Waterproofing diagnosis is the cheapest money you’ll spend on the whole project. A full bathroom remodel in Irving typically runs $9,000 – $35,000, and you can see our full range breakdown on the bathroom remodeling in Irving page.
Because our written price is fixed before any work starts, you’ll know what a repair costs before a single tool comes out of the truck. There’s no “we’ll see once we’re in there” pricing. Call Penhallow at (844) 320-5939 for an exact quote. Estimates are free.
Common Mistakes to Avoid
- Regrouting a shower without diagnosing the substrate. Cracks that reappear after regrout are the clearest sign the problem is behind the tile. Regrouting again just buys a few more months of wet wall.
- Skipping the flood test. If your contractor doesn’t flood the shower pan before tile, you have no proof the waterproofing held. Ask for the record in writing before tile install begins.
- Accepting a verbal warranty. In Irving’s climate and code environment, your written guarantee is what protects you when a defect appears nine months in. If it’s not written, it’s not a warranty.
- Paying in full before final inspection. The permit inspections are the last third of the proof. Holding a final draw until the inspection passes is standard, and it protects you.
- Hiring before reviewing the written price. Verbal estimates that grow after demo day are the most common complaint we hear from homeowners fixing someone else’s bathroom in Irving. A written number is the only number that matters.
- Letting a small efflorescence stain go. That white powder on the grout line isn’t a cleaning problem. It’s water leaving the wall. Left alone, it becomes a substrate replacement in 12 to 24 months.
- Using drywall or greenboard in the shower. It fails on schedule. Cement board substrate with proper waterproofing is the baseline, not an upgrade.
See the difference
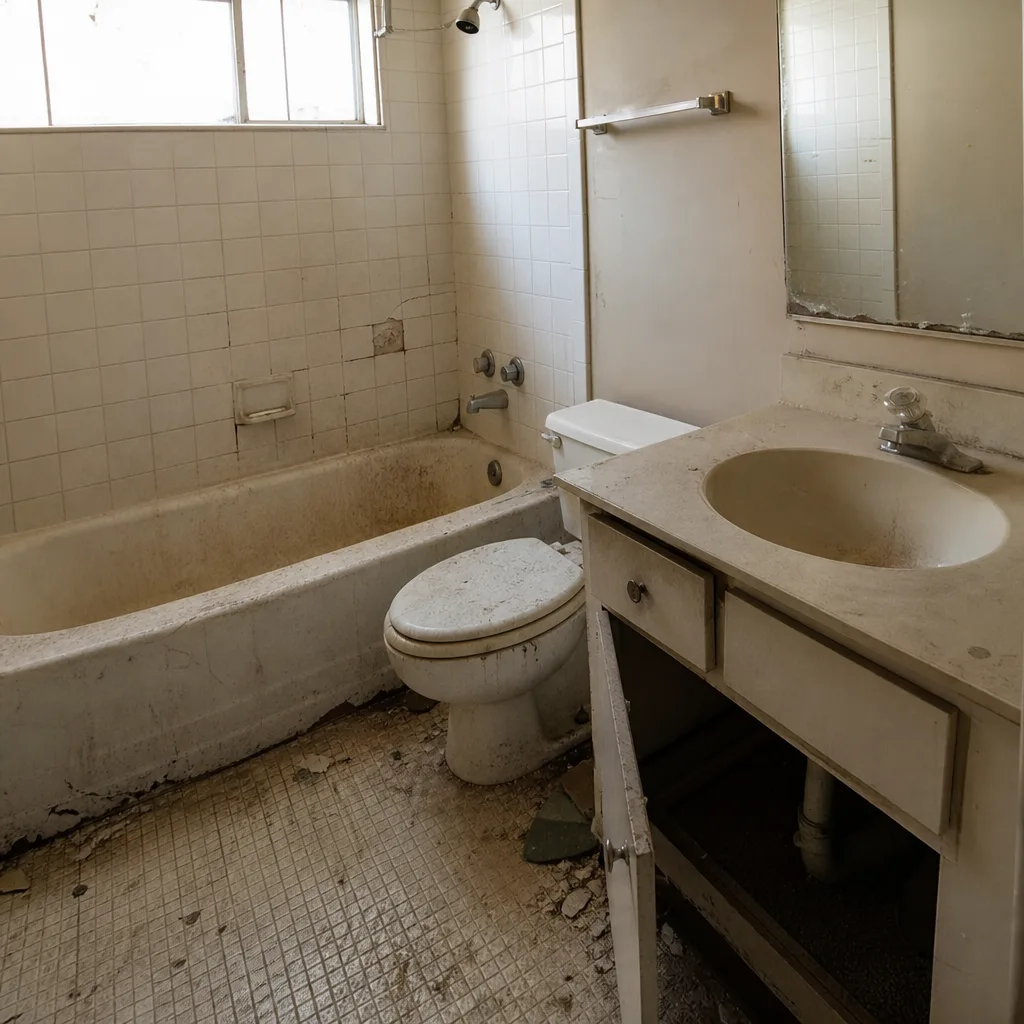 Before
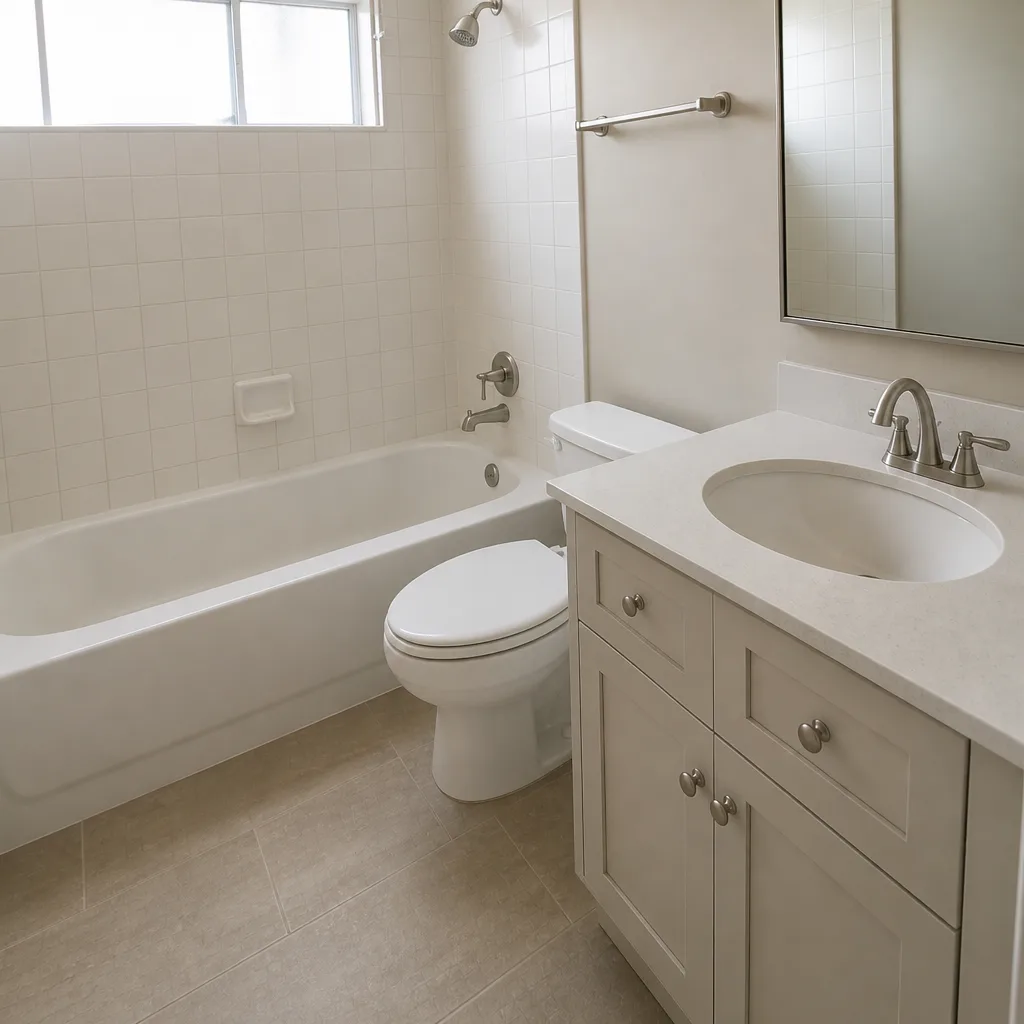 After
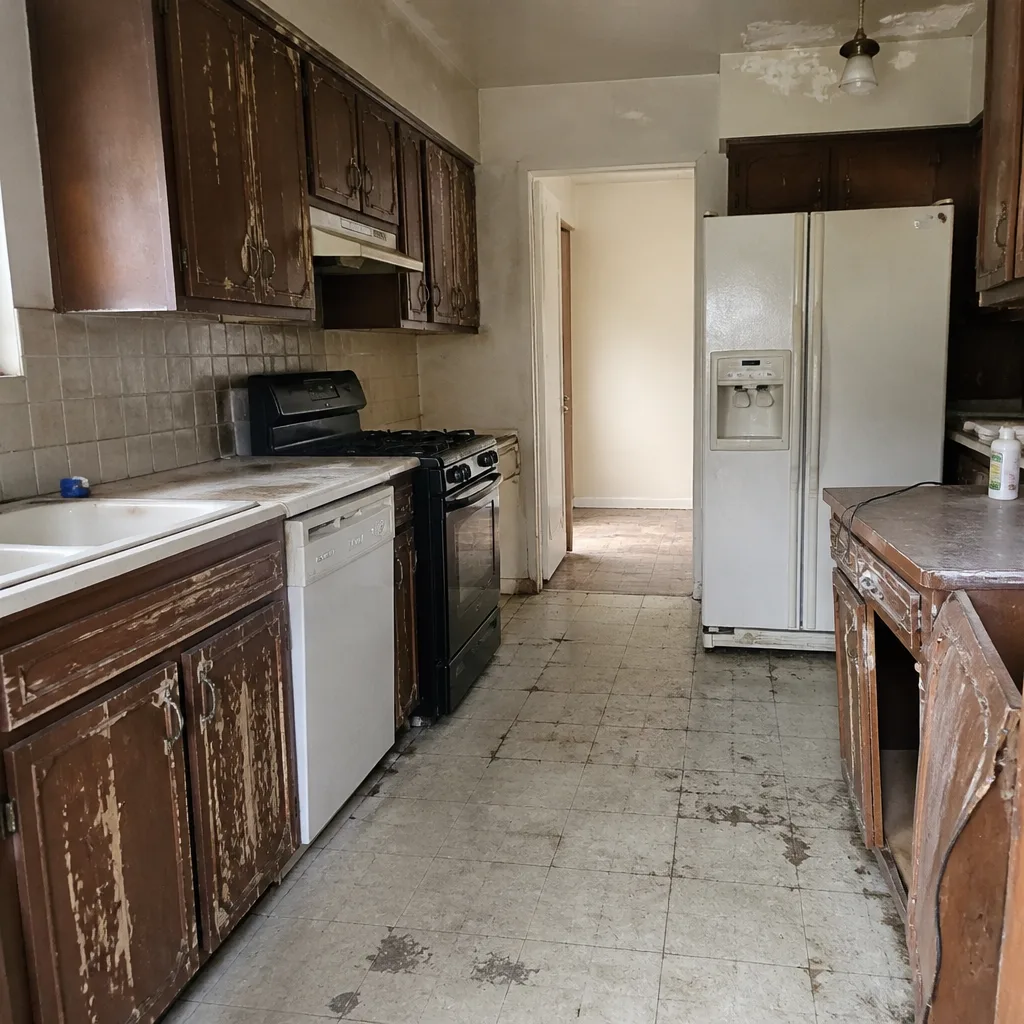 Before
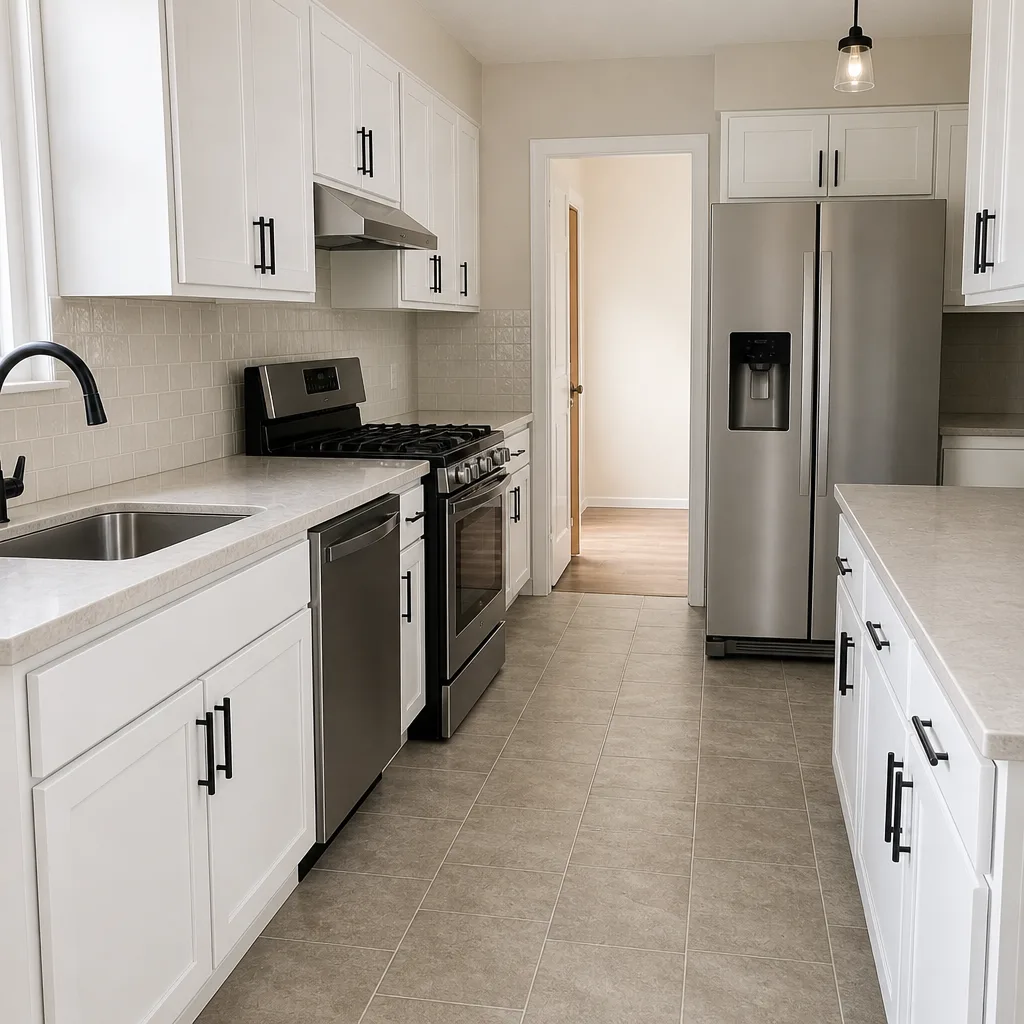 After
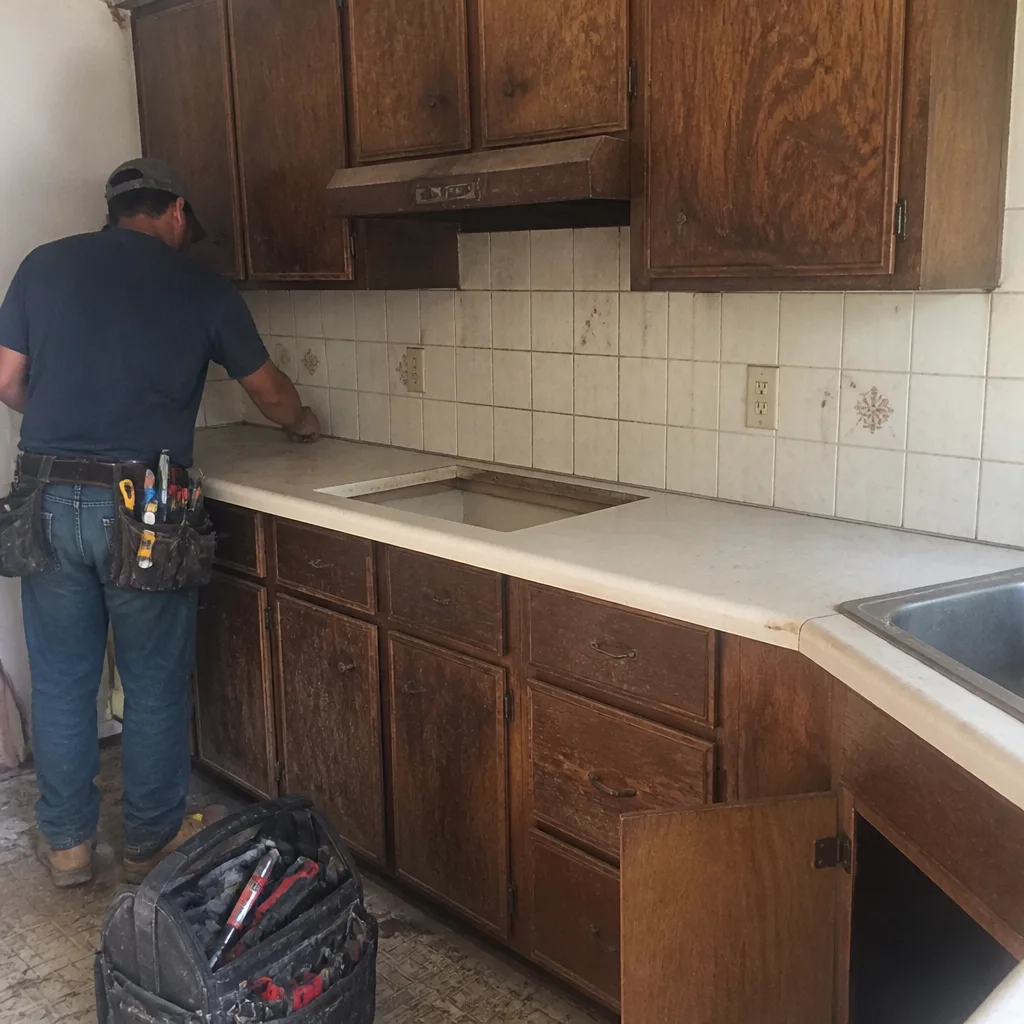 Before
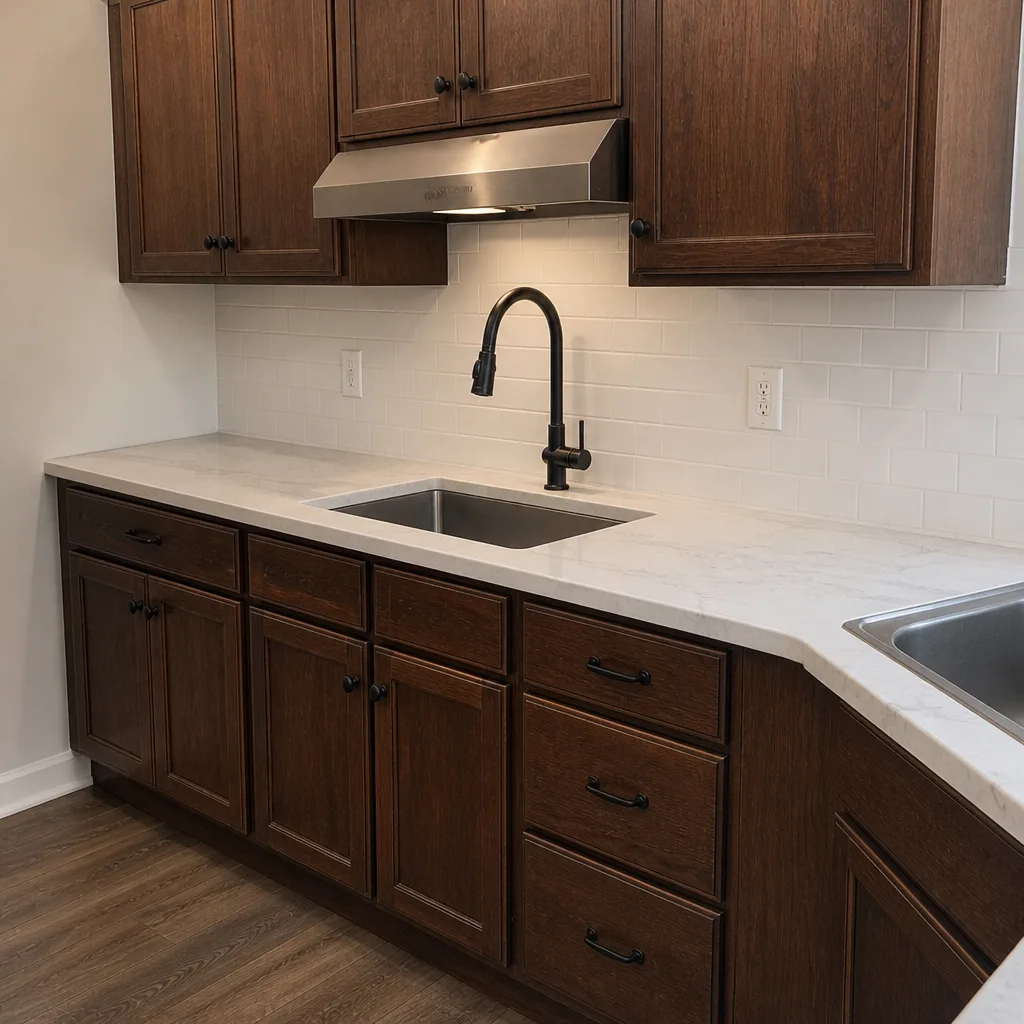 After
When to Call a Professional
Bring in a professional if any of these match what you’re seeing. Tile that’s hollow across a patch larger than your hand. A grout crack wider than 1/16 inch that follows a straight line. A soft wall next to the shower valve. A shower pan that holds standing water near the drain or has a stain. Recurring efflorescence after a cleaning. A grout failure that’s been regrouted and failed again. A toilet that’s run continuously since the bathroom was finished. Any of those point to a substrate or waterproofing problem, and the fix involves opening walls, diagnosing the cause, and rebuilding correctly. That’s not a homeowner project. Penhallow Remodeling Irving offers free estimates in Irving – call (844) 320-5939 and we’ll confirm in person whether the fix is cosmetic or structural before any work is quoted.
Frequently Asked Questions
A cosmetic regrout in a standard shower surround runs $400 – $900 in Irving. If the diagnosis shows the cracks are coming from a substrate or waterproofing failure, the fix starts at $3,200 for a pan replacement and can go up to $18,000 for a full shower rebuild. Call (844) 320-5939 for an exact quote – estimates are free and they include the diagnosis.
Not on our projects. Every homeowner receives a written price before any work starts, and that written price is the number that shows up at the end. If we open a wall and find something the initial inspection couldn’t see, we stop, write a revised scope, and go over it with you before we lay a finger on it again. No surprise invoices. No “we found something in there and just went ahead.”
Yes. Bathroom remodels in Irving typically require permits for the plumbing, electrical, and structural work, and we pull them as part of the job. The permit record matters more than homeowners realize: an inspection passed under the contractor’s name is a layer of protection behind your written warranty. When a contractor offers to skip the permit to save money, that’s a red flag about what else might get skipped.
A full shower tear-out and rebuild typically takes 8 to 14 working days, plus tile cure time. A surface regrout is a one-day job. A shower pan replacement usually runs 4 to 6 working days. The arrival window we give you in writing is the window we honor; if something shifts, you hear it from us the same day, not the morning we’re supposed to show up.
On our projects, yes. Every Penhallow repair comes with a written guarantee, and the 365-Day Done Right Promise means we come back and fix the same problem at no charge if it fails inside the guarantee period. If we fit a shower pan and the pan fails in six months, we come back, diagnose the cause, and fix it on our dime, not yours. The return visit has no service-call fee and no inspection fee.
Usually just the shower, unless the failure has spread into floor tile or a wet wall in another part of the room. In our experience, most Irving bathroom waterproofing failures are contained to the shower area, and rebuilding that enclosure correctly is far cheaper than a full-room remodel. The diagnosis determines the scope. A room-wide rebuild is the right answer maybe one time in five.
The Bottom Line
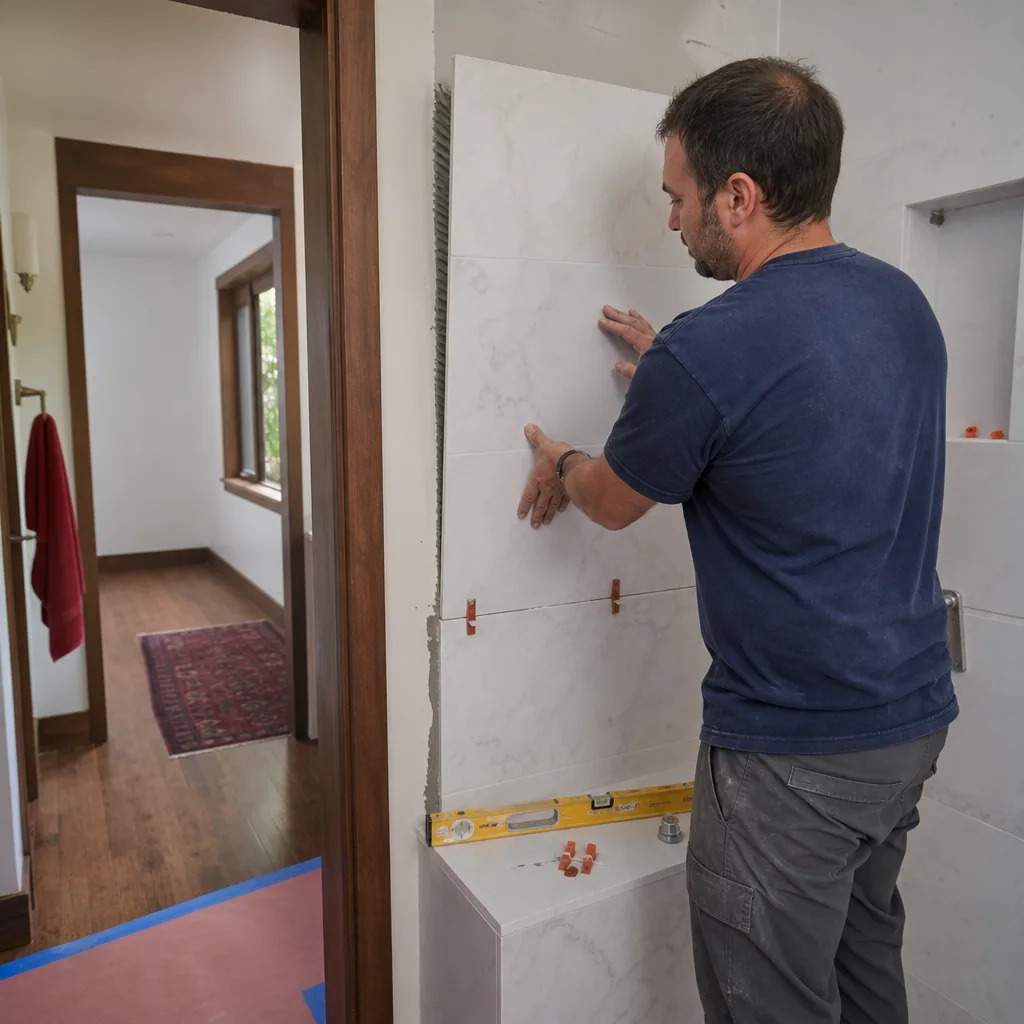
Bathroom failures almost always announce themselves first under the finish: a hollow tile, a returning grout crack, a wall that feels soft. Those are early warnings of a substrate or waterproofing failure that will cost two to three times as much to fix once the wall is soaked. Regrouting is a repair, not a cure. The way to protect the money you spent on the bathroom is to insist on a written price, a documented flood test, and a written guarantee before work starts. Every part of the Kingswell Way, part of the Kingswell family of companies, is built to make that visible up front: say the price before the work, show up in the window we gave, leave the place cleaner than we found it, and stand behind it in writing. If you’re facing a bathroom repair in Irving and want a straight answer on whether it’s surface or structural, call (844) 320-5939 and we’ll schedule a free estimate.
For heavier remodels tied into the same project, our kitchen remodeling in Irving guide covers the parallel waterproofing and rough-in issues you’ll run into there, and the Penhallow Remodeling Irving home page has the overview of how we price, guarantee, and schedule every job.
Written by the team at Penhallow Remodeling Irving.