
Last updated November 17, 2026








Free written scope consultation - allowances, timeline, and change-order rules on paper before a single trade is scheduled
Bathroom Remodeling Maintenance Schedule: What to Do and When
Silicone caulk in a shower has a functional lifespan of three to five years, even when it’s installed perfectly. Most homeowners don’t touch it until water is already behind the wall. That gap between “looks fine” and “already failing” is where remodeled bathrooms quietly go wrong. A brand-new bathroom isn’t maintenance-free. It’s maintenance-different. The membrane, the sealants, the stone, and the exhaust system all run on their own clocks, and each clock started the day the crew packed up. What follows is the schedule we hand to homeowners across Irving after a remodel: what to check at 90 days, when to seal grout by tile type, how to test your fan, and where a 365-day written guarantee ends and your routine care begins.
Quick Answer
Maintain a remodeled bathroom on a simple calendar: inspect everything at 90 days (while your workmanship guarantee is still live), reseal cementitious grout once a year and natural stone every six to twelve months, check silicone caulk joints every six months and replace them every three to five years, and test your exhaust fan’s airflow twice a year. Porcelain and ceramic tile need less sealing than marble or travertine. Most long-term moisture damage in Irving bathrooms traces to a fan that quietly stopped moving enough air.
Styles & brands we work with
- Kitchen remodeling
- Bathroom remodeling
- Home additions & ADU
- Roofing
- Windows & doors
- Driveway & pavers
- Fence
Table of Contents
- The 90-Day Post-Remodel Checklist
- Annual Grout Sealing Schedule by Tile Type
- Silicone Caulk: Inspection and Replacement
- Exhaust Fan Performance Testing
- Caring for Cambria and Other Countertop Surfaces
- Irving’s Seasonal Moisture Cycle
- What Voids a Workmanship Guarantee and What Doesn’t
- The Full Year-at-a-Glance Calendar
The 90-Day Post-Remodel Checklist
The first three months after a bathroom remodel is when small issues announce themselves, and it’s the window when they’re easiest to fix. Settling, thermal cycling, and normal curing all move materials slightly in those first weeks. Catching movement at day 90 is a phone call. Catching it at month 14 is a demolition.
Walk the room with a flashlight and a notepad on a Saturday morning. This is what to look at:
- Grout lines: Look for hairline cracks at inside corners and where the floor meets the wall. Corners move; grout in a corner that has cracked isn’t necessarily a defect, but it’s a signal to keep watching.
- Caulk joints: Press a dry fingertip along each caulk line. Any soft spot, gap, or dark discoloration behind the bead needs attention.
- Tile edges and thresholds: Run a fingernail along the transition strips. A hollow tap sound under a tile can mean a bond failure.
- Door and drawer alignment: Vanity doors sag as hinges seat. Adjust them now rather than living with a crooked door for a decade.
- Drain and fixture connections: Slide a dry paper towel under each sink trap and around the toilet base. Any dampness is worth a call.
- Exhaust fan: Hold a tissue to the grille while the fan runs. If it doesn’t hold the tissue flat, airflow is low.
In our experience, most of what surfaces in that 90-day walk-through in Irving is minor: a hinge that needs a quarter turn, a bead of caulk that pulled at a corner. A written price and a written guarantee before work starts is where that first walk-through gets its value. If a tile is loose or a joint is failing, it’s still inside the covered window. The bathroom remodeling in Irving work we do comes with a 365-Day Done Right Promise, and the 90-day inspection is the right moment to use it if something isn’t holding.
Annual Grout Sealing Schedule by Tile Type
Not all tile needs the same care. The single biggest maintenance mistake we see is treating porcelain like marble. They behave differently because the material underneath the surface is different.
Porcelain and glazed ceramic: These tiles are essentially non-porous at the surface, so the tile itself doesn’t need sealing. The grout lines do, and only if you used a cementitious grout. Seal those once a year with an impregnating sealer. If your remodel used epoxy grout, skip the annual sealing entirely. Epoxy doesn’t absorb, and sealer just sits on top.
Natural stone (marble, travertine, limestone, slate): Stone is porous and drinks. Seal stone tile and its grout every six to twelve months, and reapply sooner in a shower than on a floor. Use a sealer rated for the specific stone; some acidic cleaners that are fine on porcelain will etch marble permanently.
How to test whether it’s time: Drip a few drops of water on a grout line. If the water beads and sits, the sealer is working. If it darkens the grout and sinks in within a minute, reseal.
Irving’s water runs hard, with high mineral content that leaves deposits on tile and glass. That mineral load doesn’t damage sealed grout, but it makes an unsealed cementitious grout look dirty faster, and it’s a good reason to stay on the annual schedule. Sealing takes an afternoon and a $20 bottle of sealer, and it buys years on the grout.
Silicone Caulk: Inspection and Replacement
Silicone caulk is the flexible line of defense at every place the bathroom changes plane. It’s also the part of the room homeowners ignore longest, because when it’s clean, it looks exactly like the day it was installed. It isn’t.
Here are the caulk joints in a standard bathroom:
- The seam where the tub or shower pan meets the wall tile
- Inside corners where two tiled walls meet in the shower
- Around the shower valve trim and escutcheon
- The base of the vanity where it meets the floor
- Behind the toilet at the base and at the supply line
- Around the sink where it meets the countertop
- Window and niche edges, if the bathroom has either
How to check for failure: Dry the joint completely. Press a fingernail into the bead. If it’s soft or pulls away, it’s failing. Look for a gap at either edge of the bead, a color shift to dark at the bottom of the joint, or mold spots that don’t come off with a scrub. Any of those means replacement, not a touch-up. A bead that’s still bonded, firm, and clean can go another six months.
When it’s ready: Replace horizontal and shower joints roughly every three to five years. Vertical joints in a dry area often last longer. The replacement is a weekend job: strip the old bead fully with a plastic scraper, clean the joint with rubbing alcohol and let it dry, then lay a fresh 100% silicone bead and tool it smooth. Never caulk over old caulk. It won’t bond, and you’ll have to do it twice.
Exhaust Fan Performance Testing
The exhaust fan is the least glamorous part of a bathroom remodel and the most common point of long-term failure. A fan that’s still spinning isn’t necessarily moving air. Ventilation is measured in cubic feet per minute (CFM), and the number that matters is the real airflow at the grille, not the number on the box. A clogged grille, a sagging flex duct, or a damper stuck half open can cut that airflow sharply, and nobody notices because the fan sounds normal.
How to test it in two minutes:
- Turn the fan on and close the bathroom door.
- Hold a single-ply tissue flat against the grille. A healthy fan holds the tissue firmly. A weak one lets it flutter or drop.
- Check the grille for dust buildup. Soak and scrub it twice a year.
- If the tissue barely sticks, check the outside vent flapper while the fan runs. It should swing open freely.
- If it’s still weak, the duct is likely pinched, and that’s a job for a pro with a ladder and access to the attic.
Irving summers push humidity into the 60% and 70% range, and a bathroom in an older neighborhood north of the airport can sit closed for hours with the HVAC working hard. That’s the condition where a weak fan leaves moisture on the walls and in the grout. It’s also where we see mildew at ceiling corners that turns out to be nothing more than a fan moving half the air it should. Run the fan during showers and for 20 to 30 minutes after, and give it the tissue test every six months.
Caring for Cambria and Other Countertop Surfaces
Vanity countertops are a different maintenance story from tile. Quartz surfaces like Cambria and Silestone are non-porous by nature, so they don’t take a sealer. That said, they aren’t indestructible. Heat is the enemy. A curling iron left on the surface or a hot pan set down straight from the stove can leave a mark that doesn’t come out. Use a trivet, and wipe with a pH-neutral cleaner rather than anything abrasive.
Granite and natural stone tops need sealing once a year with a stone sealer. Test the same way you’d test grout: if the water beads, you’re fine; if it sinks in, reseal. Kohler and Moen faucet finishes are a separate care item. Chrome and polished nickel want a soft cloth and mild soap. Avoid abrasive pads on any of them, and avoid ammonia on brushed or matte finishes.
If your remodel used a solid surface, quartz, or any of the engineered brands we typically source, check the manufacturer’s care paperwork in your project folder. Those documents name the specific cleaners the brand has approved, and they carry their own material warranties alongside the workmanship guarantee on the install.
Irving’s Seasonal Moisture Cycle
Bathrooms in Irving deal with two distinct moisture seasons, and the maintenance schedule has to account for both. From May through September, the combination of outdoor humidity and air conditioning means a bathroom can go from humid to dry and back several times a day. That cycling stresses caulk and grout more than steady conditions do, and it’s a reason to schedule your caulk inspection in the spring and again in the fall, before and after the hardest stretch of the year.
From November through February, the heat runs and indoor air dries out. Wood vanity frames and painted trim shrink slightly. That’s when you’re most likely to see hairline cracks in wall-to-ceiling joints or a vanity door pull away from its hinge. None of it is a defect. It’s movement, and a small bit of touch-up keeps it from turning into something worse.
Storm season brings its own pattern. Irving gets strong spring storms, and high wind-driven rain can push past a poorly sealed exterior vent or an old window in a bathroom, letting water in where you’d never look. After a significant storm, check under windows, around the vent, and at the base of exterior walls.
What Voids a Workmanship Guarantee and What Doesn’t
A workmanship guarantee covers the labor and the installation. It does not cover failure from neglect or from products you chose to use against the manufacturer’s instructions. Here’s the line, in plain terms.
What a workmanship guarantee should cover:
- Tile that comes loose from a properly prepped substrate
- Grout cracking from movement that shouldn’t have happened
- A failed waterproofing membrane or a shower pan that leaks
- A leaking supply or drain connection that was installed as part of the job
- Fixtures that come loose from the mounting because of installation
- Vanity doors that won’t stay aligned with normal use
What typically voids coverage:
- Using abrasive or acidic cleaners on stone and stripping the surface
- Scraping caulk out and re-caulking with a product that doesn’t bond, then letting it fail
- Physically damaging tile or fixtures after the job is complete
- Ignoring a known leak for months and letting water spread into the subfloor
- Hiring someone else to “fix” the same problem without telling us first
Here’s where the timeline matters. Our 365-Day Done Right Promise means we come back and make it right at no charge if the work fails inside that year, and there’s no service call or re-inspection fee on a free second visit. The catch to know about is simple: report it inside the window. A shower pan that’s been seeping for eight months doesn’t read the same as one that’s been seeping for two weeks. If something looks wrong, call now and ask the question.
The Full Year-at-a-Glance Calendar
Here’s the whole schedule on one page. Print it, tape it inside the vanity door, and check the boxes.
- At 90 days: Full room inspection with a flashlight. Grout, caulk, fixtures, vanity doors, drain connections, fan airflow. Report anything suspicious.
- Every 6 months: Tissue test the exhaust fan and clean the grille. Inspect all silicone caulk joints. Check for leaks under the sink and at the toilet base.
- Every 12 months: Reseal cementitious grout with an impregnating sealer. Reseal natural stone and granite countertops. Clean the fan grille and check the exterior vent flapper.
- Every 3 to 5 years: Replace caulk in the shower and tub joints. Check the toilet wax ring for evidence of a slow leak.
- Every 10+ years: Consider replacing the exhaust fan outright if it’s an older model or showing signs of weak airflow. Older fans move less air than current models and are a common source of chronic moisture issues.
None of this list requires special tools or a weekend of work. It’s a couple of hours a year, spent on the parts of the bathroom nobody thinks about. That’s what keeps a remodeled bathroom looking like the day it was finished in year three, year five, and year ten.
Common Mistakes to Avoid
- Skipping the 90-day walk-through. It’s the one moment when minor issues are easiest to fix and still covered. Waiting until the end of the year means the same problem is now bigger.
- Caulking over an old bead. New silicone won’t bond to old silicone. It’ll peel, and you’ll need to strip both layers and start over.
- Using vinegar on natural stone. White vinegar is a common cleaning trick and the fastest way to etch marble or travertine permanently. Stick to pH-neutral cleaners on stone.
- Assuming a spinning fan means airflow. A fan can run, hum, and move half the air it’s rated for because of a pinched duct or a dirty grille. Test the airflow, don’t just listen to the sound.
- Not checking the exterior vent flapper. In storm-prone Irving neighborhoods, a flapper stuck open lets wind-driven rain and humid air back into the duct. It’s a five-second check from the outside.
- Treating a shower pan leak as a floor mopping. Water on the floor from a slow pan leak shows up days after a shower. Towel it up and move on and the water ends up in the subfloor. Report it.
- Ignoring dark discoloration in grout at floor edges. Grout turning dark along a wall is often moisture from behind the tile, not dirt. That’s worth a professional look, not a scrub brush.
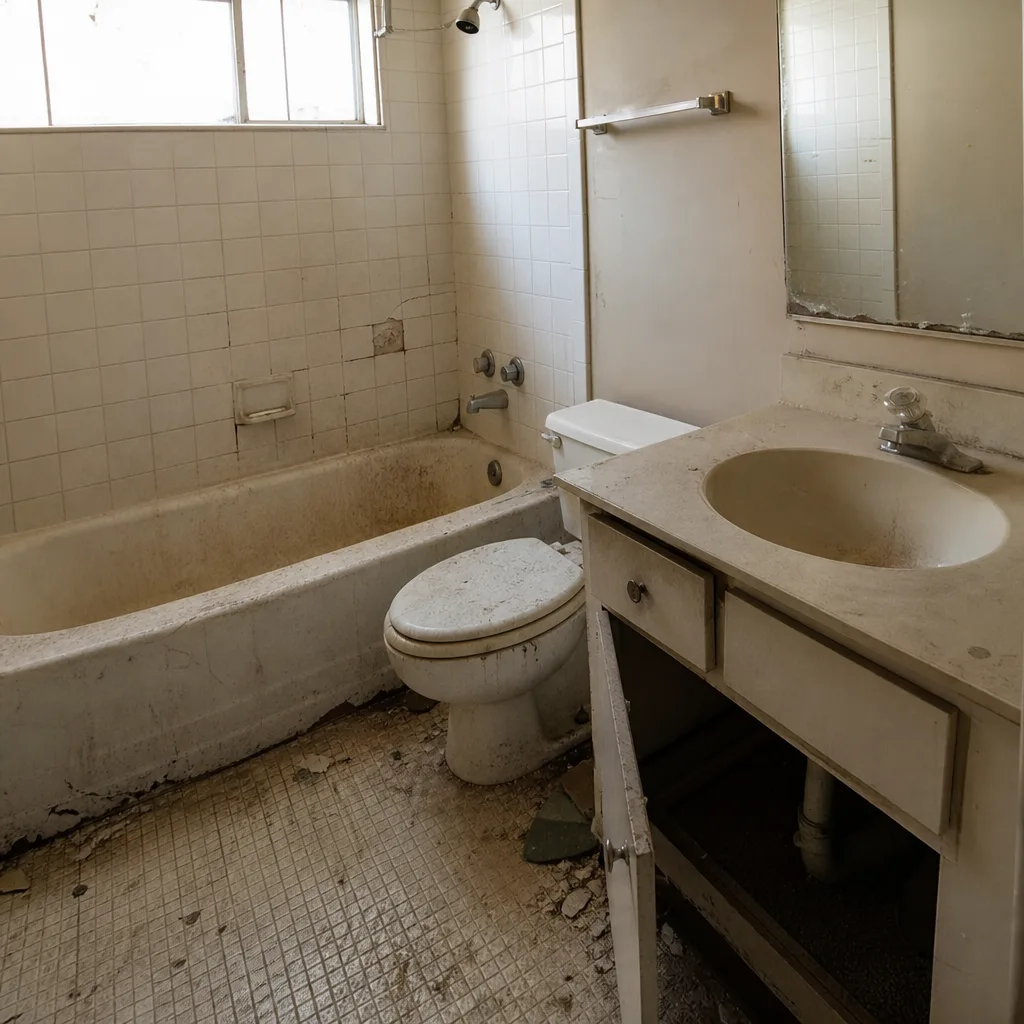
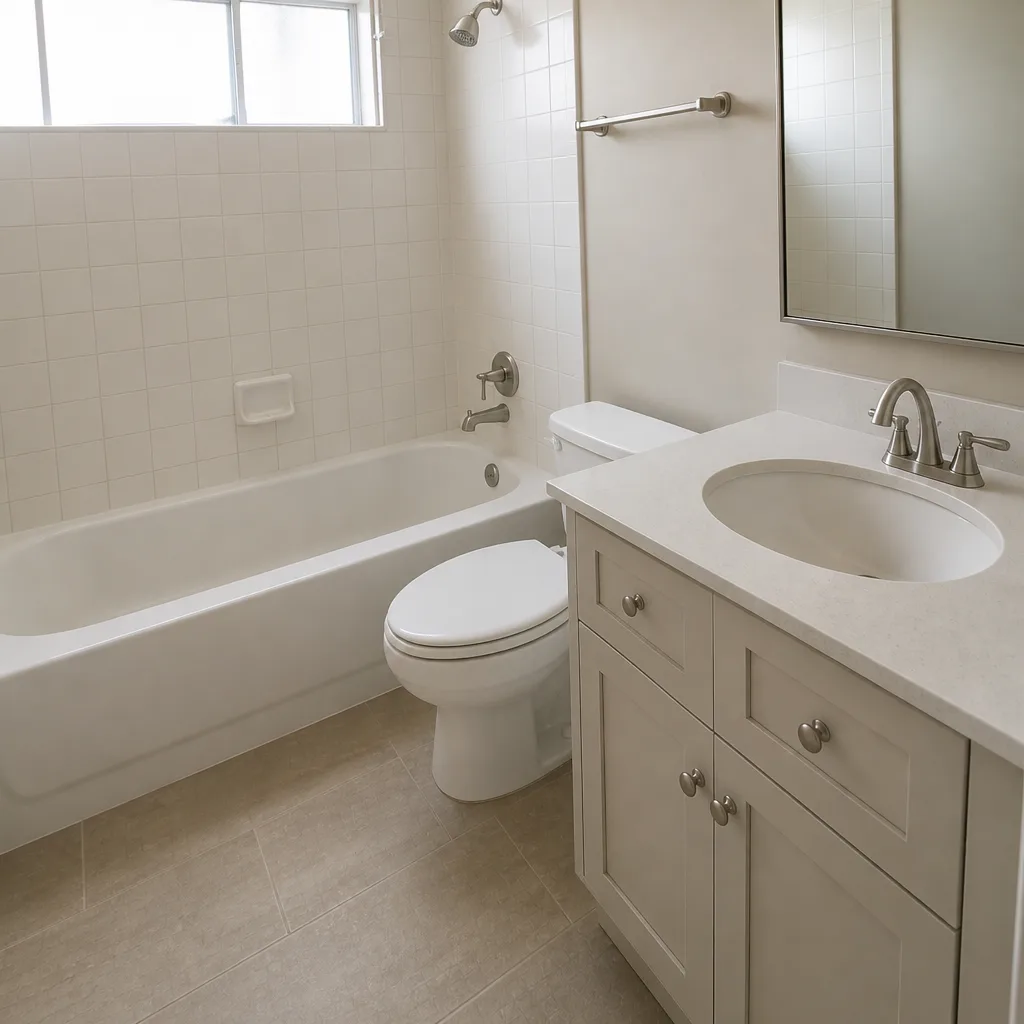
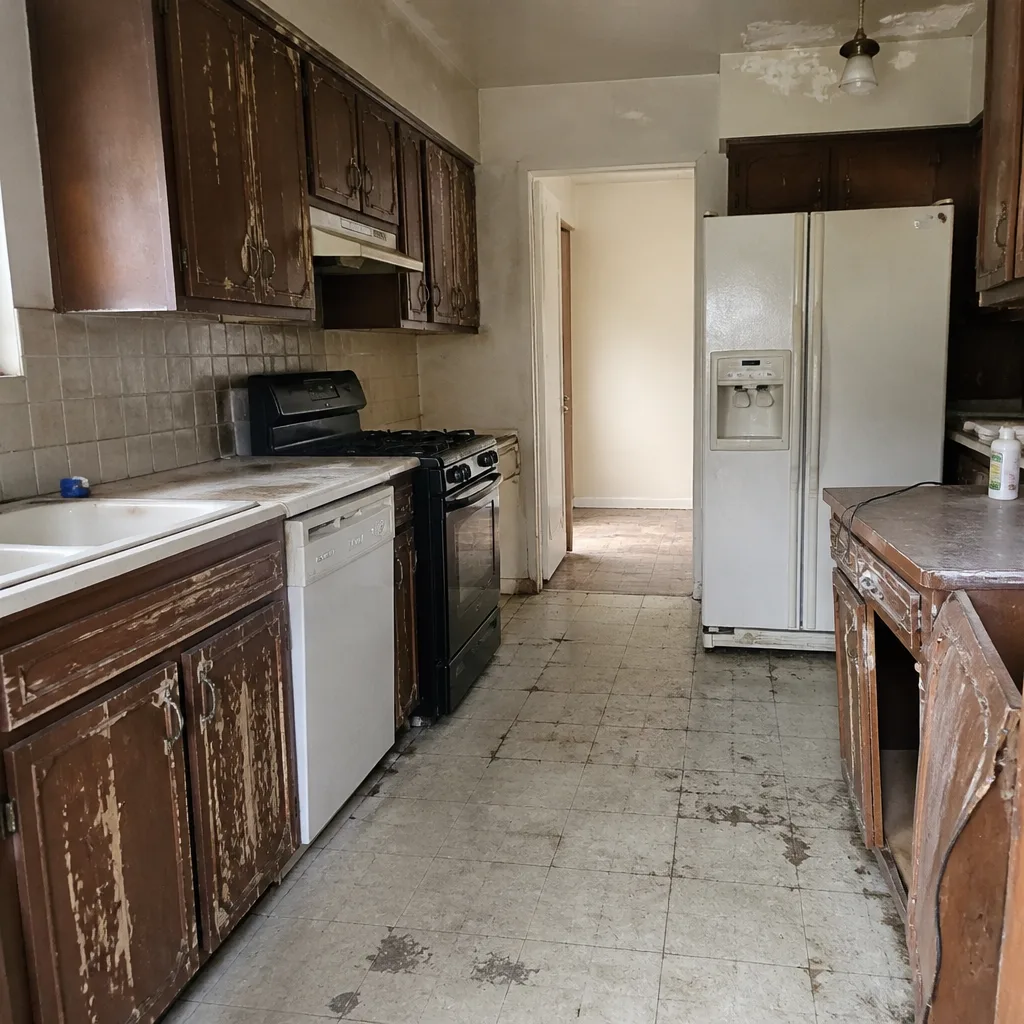
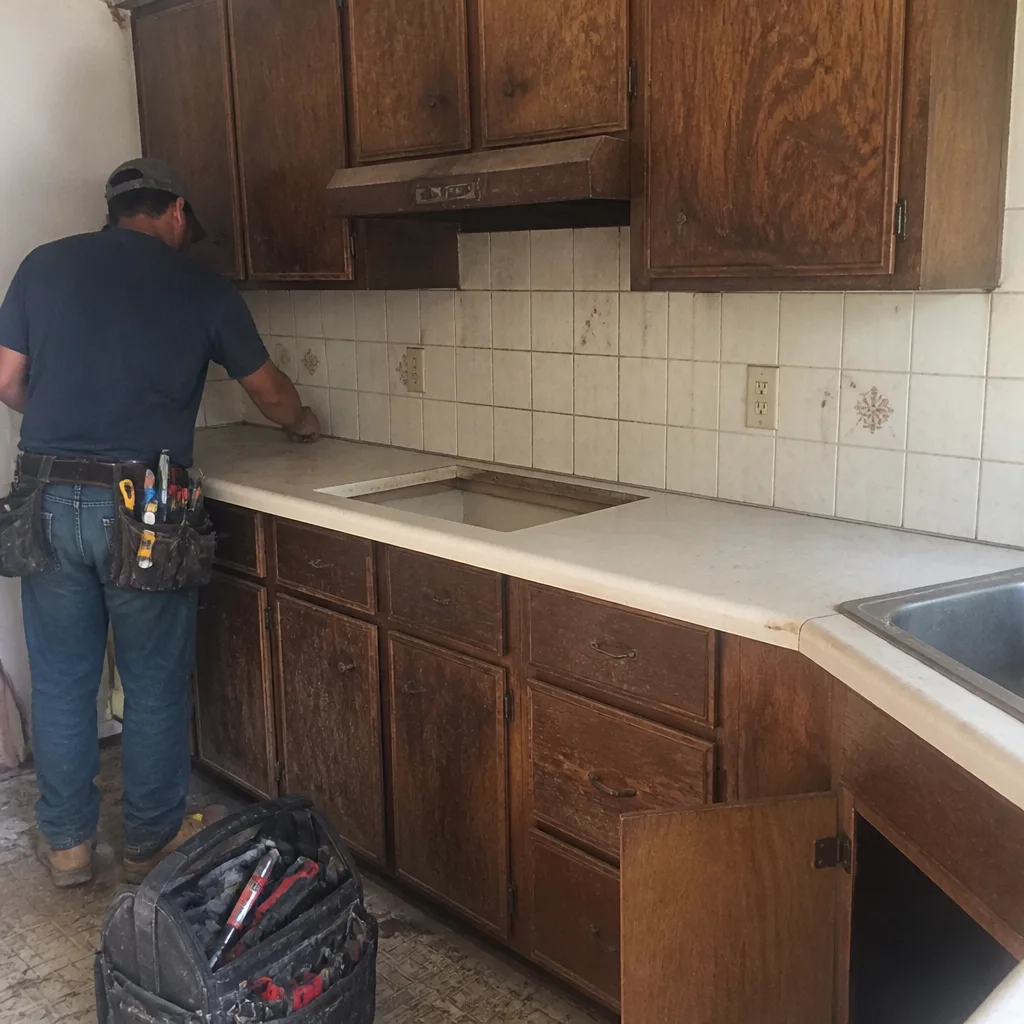
See the difference
 Before
 After
 Before
 After
 Before
 After
When to Call a Professional
Some maintenance is routine and some isn’t. Call a professional if you find: a tile that’s loose or hollow-sounding, water staining on the ceiling below the bathroom, a shower pan that leaks, a soft or spongy floor near the toilet or tub, a crack that’s wider than a hairline, a fan that fails the tissue test after cleaning, or any sign of mold that keeps coming back after cleaning. Those are signs of a problem behind the tile, not on the surface. If a bathroom remodel turns into a repair, we can tell you what’s happening and what it costs to fix it. Penhallow Remodeling Irving offers free estimates in Irving. Call (844) 320-5939 to get a written number on the fix.
Frequently Asked Questions
Seal cementitious grout once a year, and reseal natural stone tile every six to twelve months. Porcelain and glazed ceramic tile surfaces don’t need sealing, and epoxy grout doesn’t accept sealer at all. Test a grout line with a few drops of water: if it beads and sits, the sealer is still working; if the water darkens and sinks in, reseal.
Three to five years is typical for shower and tub joints, even when it’s installed correctly. Vertical joints in a dry part of the room often last longer. Check the bead every six months by pressing a dry fingernail into it. If it’s soft, pulling away at either edge, or showing mold that won’t scrub out, replace it rather than touching it up.
Fog on the mirror means the fan isn’t moving enough air. The fan motor can run fine while a clogged grille, a sagging or pinched duct, or a stuck exterior damper cuts airflow. Do the tissue test: if a single-ply tissue won’t hold flat against the grille, the airflow is weak. Clean the grille and check the flapper first, and call a pro if it still fails.
Using abrasives or acidic cleaners on stone, damaging tile or fixtures after the job, ignoring a known leak for months, or re-caulking a joint yourself with a product that fails. Normal wear, settling, and installation-related failures are still covered. Our 365-Day Done Right Promise covers the work itself for a full year, and the key is to report the issue inside the window. Call to report it early.
Yes. Porcelain and glazed ceramic are essentially non-porous, so only their grout lines need sealing. Natural stone like marble, travertine, limestone, and slate is porous, so the tile and the grout both need sealing every six to twelve months. Acidic cleaners etch stone but not porcelain, so the cleaner you choose matters too.
Hairline cracks at inside corners and wall-to-ceiling joints are common and usually reflect normal seasonal movement, especially in Irving where humidity swings from summer to winter. That’s why caulk, not grout, belongs in corners. A crack wider than a hairline or one with water staining behind it isn’t routine and should be looked at.
The Bottom Line
A remodeled bathroom stays looking new because of a short, boring schedule: inspect everything at 90 days, reseal grout annually, check caulk twice a year and replace it every three to five years, and tissue-test the exhaust fan every six months. Tile type decides your sealing schedule. Irving’s hard water and humidity swings make the annual check worth keeping on the calendar. And your workmanship guarantee is only as useful as your habit of reporting problems inside the covered window. Stay on this schedule and you’ll spend a couple of hours a year on the parts of the room nobody thinks about. That’s the difference between the bathroom you paid for and the bathroom you get three years later.
If anything on this list looks wrong or you’d like a professional eye on it, reach out. Call Penhallow Remodeling Irving at (844) 320-5939 for a free estimate. We’ll give you a written price before any work starts, arrive in the window we gave you, and stand behind the job with a written guarantee. If it’s a bigger project, our team also handles kitchen remodeling in Irving and full home remodels, all backed by the Kingswell Way and the 365-Day Done Right Promise.
Written by the team at Penhallow Remodeling Irving.