
Last updated November 17, 2026








Free written scope consultation - allowances, timeline, and change-order rules on paper before a single trade is scheduled
General Contractor Maintenance Schedule: What to Do and When
Most remodeling warranties expire quietly while the problems they’d cover are still forming inside your walls. Caulk shrinks. Grout cracks. The caulked penetrations around HVAC boots pull away from the ceiling within 12 to 18 months, and by the time you notice the stain, the window to call it a defect has closed. When we finish a project in Irving, we hand over a space that’s done, but we also hand over a set of new maintenance obligations most homeowners never hear about. This guide maps exactly what to check and when, organized by trade, so your remodel holds up well past the first year.
Styles & brands we work with
- Kitchen remodeling
- Bathroom remodeling
- Home additions & ADU
- Roofing
- Windows & doors
- Driveway & pavers
- Fence
Quick Answer
After a remodel, inspect tile grout, caulk joints, drywall seams, and cabinet hardware at 30, 60, and 90 days, then run a full caulk and sealant audit once a year. In Irving, add a seasonal door, window, and grout check each spring and fall because our clay soil moves with the moisture cycle and shows up first at frames, thresholds, and tile lines. Anything that fails inside your written workmanship guarantee window is the contractor’s responsibility to fix, not yours.
Table of Contents
- Quick Answer
- Why a Remodel Creates Maintenance You Didn’t Have Before
- The 30-60-90 Day Post-Remodel Inspection by Trade
- The Annual Caulk and Sealant Audit: Every Joint That Matters
- How Irving’s Clay Soil Moves Your Doors, Windows, and Tile
- Electrical and Plumbing: What’s Yours Now vs. What We Still Cover
- Building a Maintenance Log That Protects You Later
- Your Irving Seasonal Maintenance Calendar
- Common Mistakes to Avoid
- When to Call a Professional
- Frequently Asked Questions
- The Bottom Line
Why a Remodel Creates Maintenance You Didn’t Have Before
A finished remodel is a system of materials that all move at different rates. Tile and grout expand and contract differently. Wood cabinets take on and release moisture. Drywall compound shrinks as it cures. Caulk has a service life measured in months, not decades, no matter how carefully it was applied.
That’s the part few homeowners are told. The work isn’t fragile, but it is alive in a physical sense, and the first 12 to 18 months are when every material settles into its final position. A new shower pan, a freshly tiled floor, a cabinet run hung on a wall that will shift a fraction of an inch: all of these are stable once they’ve been through a full seasonal cycle, and all of them can show early symptoms before then.
This is why a written guarantee matters. The Penhallow Remodeling Irving home standard includes the 365-Day Done Right Promise: if the work fails inside that window, we come back and fix it at no charge. But that promise only works if you know what to look for and report it before the window closes. The schedule below is how you do that.
What counts as “settling” versus “failing”
- Settling: a hairline grout crack along one tile joint, a caulk line that has pulled back a millimeter, a cabinet door that needs a quarter-turn on the hinge. These are normal.
- Failing: grout that crumbles when you touch it, caulk that has separated from the wall by a visible gap, a door that no longer latches, tile that sounds hollow when tapped. Report these to your contractor.
The 30-60-90 Day Post-Remodel Inspection by Trade
This is the inspection list we’d hand any homeowner after a completed project in Irving, whether it was a bathroom, a kitchen, or a whole-home remodel. Walk it with a flashlight and a notepad. It takes about 20 minutes per room.
At 30 days
- Tile and grout: run a fingernail across every grout line in the shower and on the floor. Any line that crumbles or powders out is a reportable defect. Check the corners where wall tile meets floor tile; that’s where movement shows first.
- Caulk joints: press a thumb into the caulk at the tub rim, the shower base, and the backsplash. It should feel firm and bonded, not gummy or detached.
- Drywall: look for hairline cracks at the corners of doorways and where ceiling meets wall. A single hairline at a corner is common; a crack running the length of a seam is not.
- Cabinetry: open and close every drawer and door. Check that soft-close dampers still function and that drawer fronts are aligned. Loose hinges are a five-minute adjustment now; ignored, they become a sagging door in six months.
- Trim and baseboard: check the caulk line where baseboard meets wall and where shoe molding meets floor. This is the most common place caulk pulls free.
At 60 and 90 days
Repeat the same list. Most defects surface in this window, once the space has been used and the first full humidity cycle has passed through. Pay special attention after a stretch of wet weather or after heavy use of a new bathroom. If a penetration around an HVAC boot or exhaust fan starts pulling away from the drywall, note the date. In our experience that’s the piece homeowners miss, because it opens up above eye level and the leak shows up on the ceiling weeks later.
The Annual Caulk and Sealant Audit: Every Joint That Matters
Once a year, ideally in early spring before the Irving humidity climbs, re-examine every caulked penetration and material transition in your home. This is the single highest-value maintenance task on this list. A tube of quality caulk costs less than a coffee; the water damage it prevents costs thousands.
Here’s the full audit list, organized by where to look:
- Exterior: around window and door frames (especially James Hardie siding joints and trim edges), at hose bibs, where the siding meets foundation, and around any exterior vent or penetration.
- Bathrooms: tub rim, shower base, tile-to-drywall transitions, backsplash-to-counter joint, and around the toilet base.
- Kitchen: backsplash-to-counter, sink rim, and where the counter meets the wall.
- Interior transitions: baseboard-to-wall, shoe molding-to-floor, and any drywall corner that shows a hairline crack.
- Above eye level: HVAC ceiling boots, exhaust fan surrounds, and ceiling penetrations for recessed lighting in wet areas.
Replace failed caulk with a paintable, mold-resistant silicone or siliconized acrylic rated for the joint. If a joint keeps failing in the same spot every year, that’s not a caulk problem. It’s a movement problem, and it’s worth having a pro look at it. A kitchen project that includes quality cabinetry installed by brands like KraftMaid or Wellborn will hold its alignment for years, but only if the wall behind it stays put. If a cabinet run has pulled away from the wall or the counter has separated from the backsplash, that’s a structural question.
How Irving’s Clay Soil Moves Your Doors, Windows, and Tile
Irving sits on the Blackland Prairie, home to expansive clay soil that swells when wet and shrinks when dry. That’s not trivia. It’s the reason a door that latched perfectly in October can stick in February. The soil under your foundation moves a fraction of an inch through the season, and your house moves with it.
Some movement is normal. Here’s how to tell:
- Normal: doors that stick a little during a dry stretch and free up after rain, a hairline crack in the drywall at a door corner that doesn’t grow, a grout line that shows a fine crack and stays that size.
- Not normal: a door that won’t close at all, a crack that widens month over month, tile that lifts or sounds hollow, or doors and windows that suddenly won’t latch in a room you didn’t touch.
What you control is water. Keeping consistent moisture around your foundation is the single best thing you can do for the trim, doors, and tile inside your home. A soaker hose on a timer during dry months beats any amount of caulk. If your remodel included a patio or hardscape, watch for soil pulling away from the edges after a dry spell, and refill it so water runs away from the house, not toward it.
Electrical and Plumbing: What’s Yours Now vs. What We Still Cover
After a remodel, some maintenance becomes your responsibility and some stays covered by the written guarantee. Getting that line right prevents disputes and protects your investment.
Yours to maintain
- Testing GFCI outlets monthly with the test button, particularly in bathrooms and kitchens.
- Replacing light bulbs, and checking that fans and fixtures aren’t tripping breakers.
- Cleaning drain screens and treating slow drains before they clog.
- Winterizing exterior hose bibs and monitoring the water heater for the first signs of a leak.
Still ours under the guarantee
- Any wiring or plumbing we installed that fails in normal use inside the 365-day window.
- Fixtures that fail on their own, like a Kohler or Moen faucet with a defect, which are also backed by their manufacturer warranty.
- Workmanship problems, like a supply line to a new sink that starts weeping because a fitting wasn’t tight.
Electrical and plumbing are the two areas where you should never attempt a repair yourself. Panel work and gas lines can kill, and a loose supply connection can flood a room behind a finished wall. Call a licensed technician. The General Contractor in Irving service handles both the remodel and the follow-up inspection, and a live person answers the phone around the clock, so you’re never routed to voicemail when something fails on a Sunday.
Building a Maintenance Log That Protects You Later
A maintenance log is a simple record of what you inspected, when, and what you found. It takes two minutes a month, and it does two valuable things: it strengthens any future warranty claim, and it protects you in a home resale disclosure.
What to log
- Date and task: “Pulled caulk at shower base, replaced with silicone, March 12.”
- Photos: one wide shot and one close-up of any issue you spot.
- What was fixed and who fixed it: name the contractor, the trade, and whether it was warranty or routine maintenance.
- Receipts and invoices: keep them in the same folder as your remodel documentation.
When you sell, a buyer will ask whether cracks in the grout or a door that sticks are old news or a warning sign. A dated log with photos answers that question far better than a verbal assurance. It also tells a future contractor exactly what’s already been tried, which saves everyone time. Keep the log wherever you store your written price and guarantee paperwork from your remodel, because those documents belong together.
Your Irving Seasonal Maintenance Calendar
Here’s what to do when, tuned to Irving’s climate rather than a generic national template. North Texas swings hard between wet springs and dry summers, and the maintenance that matters follows that rhythm.
Spring (March – May)
- Full caulk and sealant audit, exterior first, then interior wet areas.
- Check all exterior door and window frames after heavy rain.
- Walk the foundation line and confirm soil slopes away from the house.
- Test GFCI outlets in kitchen and bath.
Summer (June – August)
- Run the soaker hose during dry spells to keep foundation moisture steady.
- Check HVAC condensate lines and ceiling boots for moisture; a clogged line shows up as a ceiling stain.
- Re-tighten cabinet hardware and re-align drawer fronts that have drifted.
- Look for grout cracking in bathrooms after the humidity peak.
Fall (September – November)
- Repeat the caulk audit before cold sets in.
- Check doors and windows for sticking or daylight gaps; adjust as needed.
- Service the water heater and check for weeping at connections.
- Replace weatherstripping on exterior doors ahead of cool weather.
Winter (December – February)
- Insulate and drain exterior hose bibs before a freeze.
- Check baseboard and shoe molding for caulk separation from dry indoor heating.
- Look for new drywall cracks and log any that grow.
- Clean tile grout and reseal as needed in wet areas.
If your kitchen or bathroom work is coming up rather than newly done, the Bathroom Remodeling in Irving and Kitchen Remodeling in Irving pages outline what a written price covers, so you know exactly which of these tasks start covered by a guarantee and which become yours over time.
Common Mistakes to Avoid
- Waiting past the guarantee window to report a defect. A crack that surfaces at 11 months is a warranty claim; the same crack at 14 months is a repair you’ll pay for. Report early and in writing.
- Sealing over a crack without checking for movement. In Irving’s clay soil, a recurring crack in the same grout line usually means movement, not bad caulk. Fixing the symptom hides the real problem.
- Skipping the above-eye-level penetrations. HVAC boots and exhaust surrounds are where slow leaks start, and the damage always shows up after the window to claim it has closed.
- Using the wrong caulk. Acrylic caulk in a wet shower won’t last a year. Match the caulk to the joint: silicone or siliconized in wet areas, paintable acrylic on trim.
- Ignoring foundation moisture. Letting the soil go dry and wet with no consistency is the top reason interior doors, windows, and tile misbehave in Irving homes.
- Rearranging weight inside brand-new cabinets immediately. Give new cabinetry a few weeks at a stable humidity before loading it heavily, and check the hardware again after.
- Not keeping records. No log, no photos, no receipts: that’s a weak warranty claim and an awkward resale question when a buyer spots a hairline crack.
When to Call a Professional
Call a pro when a defect falls inside the guarantee window, when a door or window stops latching in a room you didn’t touch, when tile lifts or sounds hollow, or when a leak appears at a ceiling penetration you can’t safely reach. Electrical fixtures, gas lines, and any plumbing behind a finished wall are not do-it-yourself territory; a loose fitting there can flood a room, and panel work can kill. A kitchen or bathroom that’s failing at the seams is worth a professional inspection, not another layer of caulk.
Penhallow Remodeling Irving offers free estimates in Irving. Call (844) 320-5939 and a live person will pick up. We’ve seen every one of these failures before, we’ll tell you honestly whether it’s covered, and our technicians have up to 22 years of experience. Every job gets a written price before work starts, a real arrival window, and the 365-Day Done Right Promise in writing. If a repair fails after we finish it, we come back for a free second visit, no service-call fee.
Frequently Asked Questions
Thirty days after the project wraps. That’s when caulk has cured, grout has fully set, and the first month of normal use has exposed any early defects while your guarantee window is wide open. Repeat at 60 and 90 days, then switch to an annual schedule.
It covers cracks caused by failed workmanship inside the 365-day window, but not the normal hairline settling cracks that come with material movement. We’ll tell you plainly which one you’re looking at. Call (844) 320-5939 to schedule a free inspection if you’re unsure.
Because of the clay soil. Irving sits on expansive Blackland Prairie clay that swells and shrinks with moisture, and the movement translates straight into sticking doors and grout cracks. Consistent foundation watering is the fix, not repeated patching.
A millimeter of movement is normal as the materials settle. A visible gap or caulk that has fully separated is not, and it should be reported. Water behind that joint is what causes the expensive damage.
Routine maintenance is cheap. A tube of quality caulk runs a few dollars, and a professional re-caulk of a bathroom typically costs $150 to $400 depending on the number of joints. Replacing failed tile or repairing water damage runs far higher, which is why the annual audit pays for itself.
Yes, for accessible interior joints on trim, baseboard, and the counter-to-backsplash line. Leave wet-area re-caulking over finished tile, anything above eye level, and all electrical and plumbing work to a professional. Call (844) 320-5939 if you’d rather we handle the whole audit.
The Bottom Line
A remodel is a beginning, not an ending. Inspect tile, drywall, cabinetry, and trim at 30, 60, and 90 days. Run a full caulk and sealant audit once a year, exterior first, then wet areas, and don’t forget the ceiling penetrations above eye level. Water your foundation consistently, because Irving’s clay soil is the first thing that moves and the last thing you’ll notice. Keep a dated maintenance log with photos and receipts so any warranty claim or resale question has a clear answer. And when something fails inside your written guarantee, don’t patch over it. Report it while the window is open.
Ready to make your remodeled space last? Call Penhallow Remodeling Irving at (844) 320-5939 for a free estimate. A live person answers around the clock, you’ll get a written price before work starts, and every project is backed by the 365-Day Done Right Promise in writing.
Related reading
- General Contractor in Irving
- Bathroom Remodeling in Irving
- Kitchen Remodeling in Irving
- Penhallow Remodeling Irving home
Written by the team at Penhallow Remodeling Irving.
See the difference
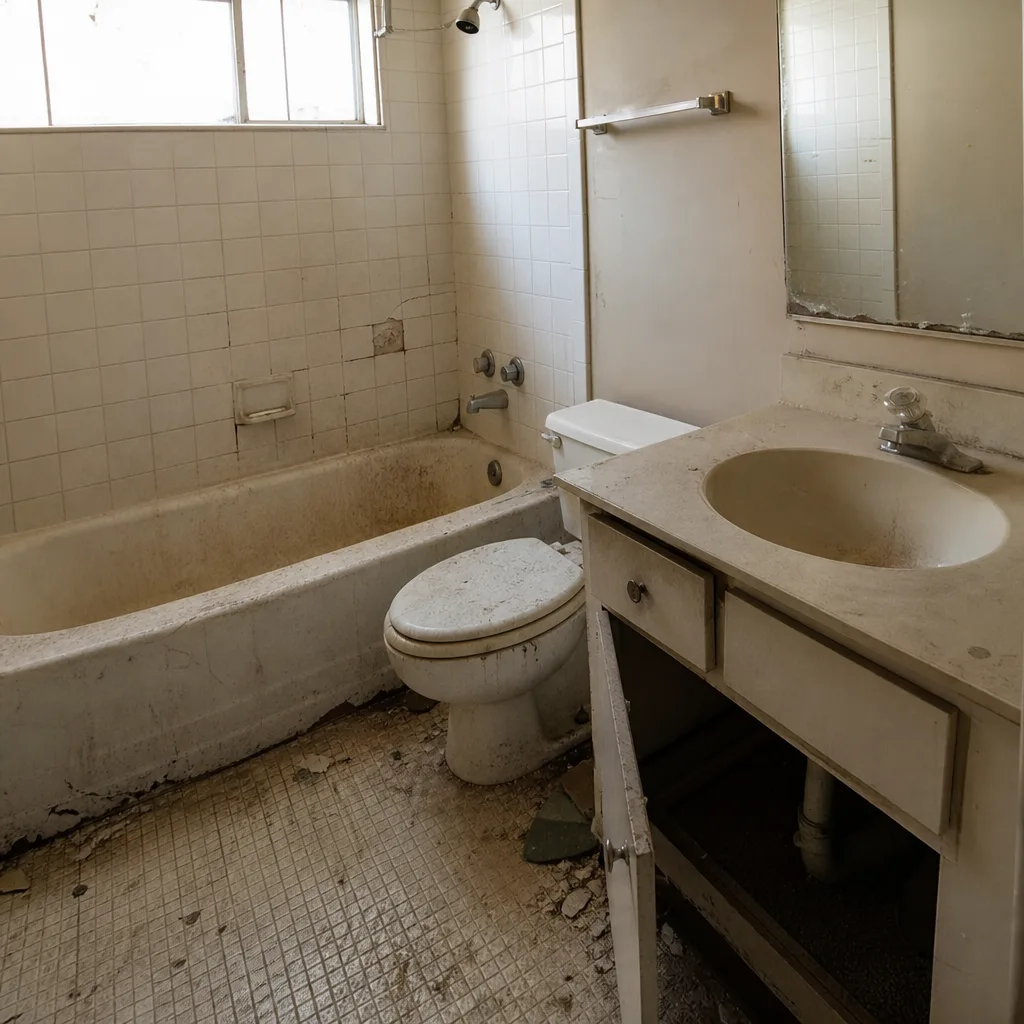 Before
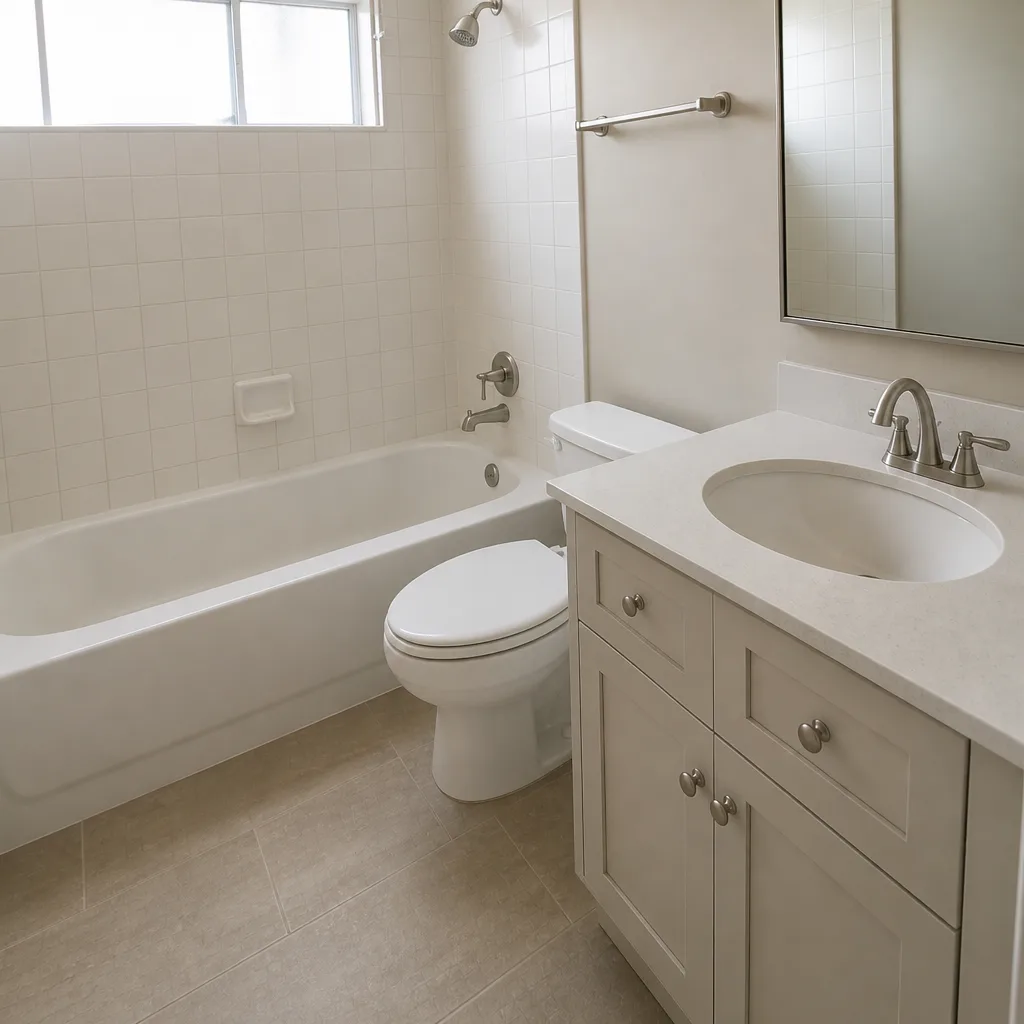 After
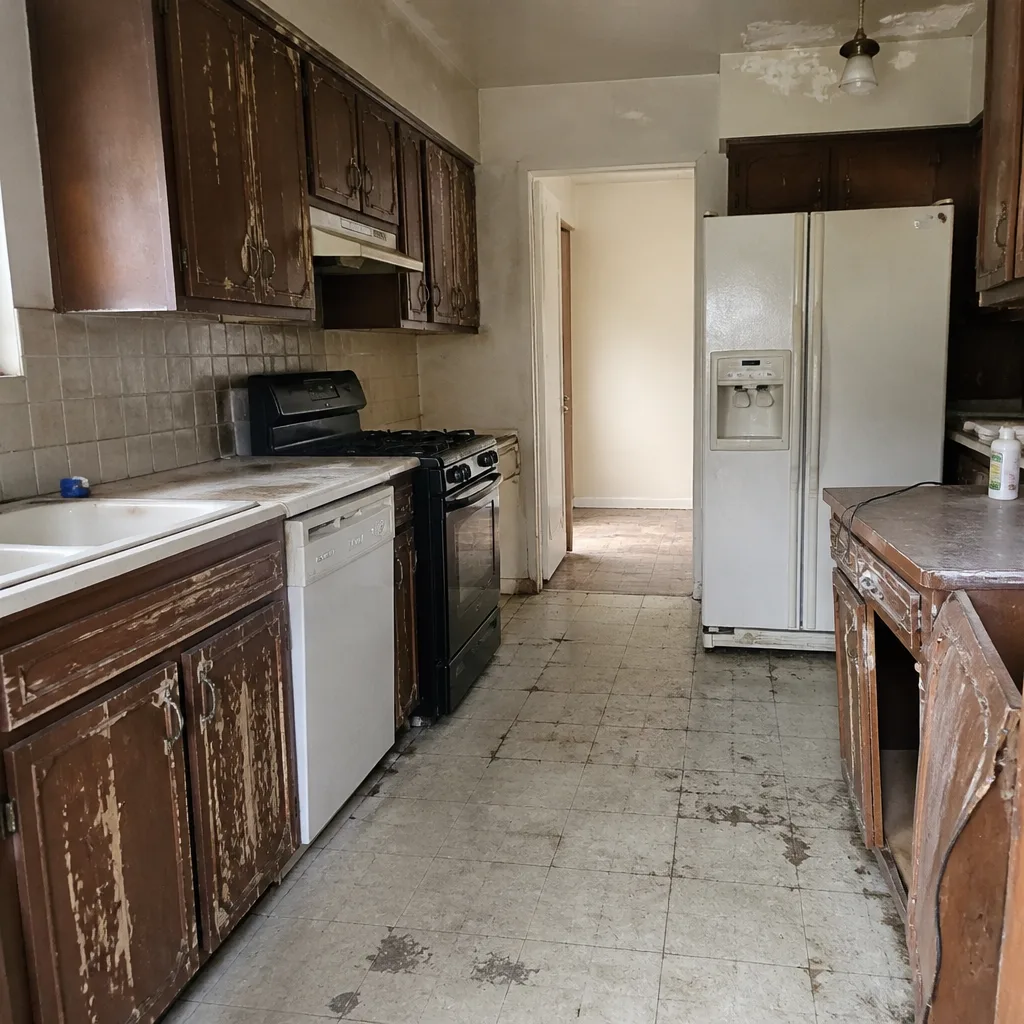 Before
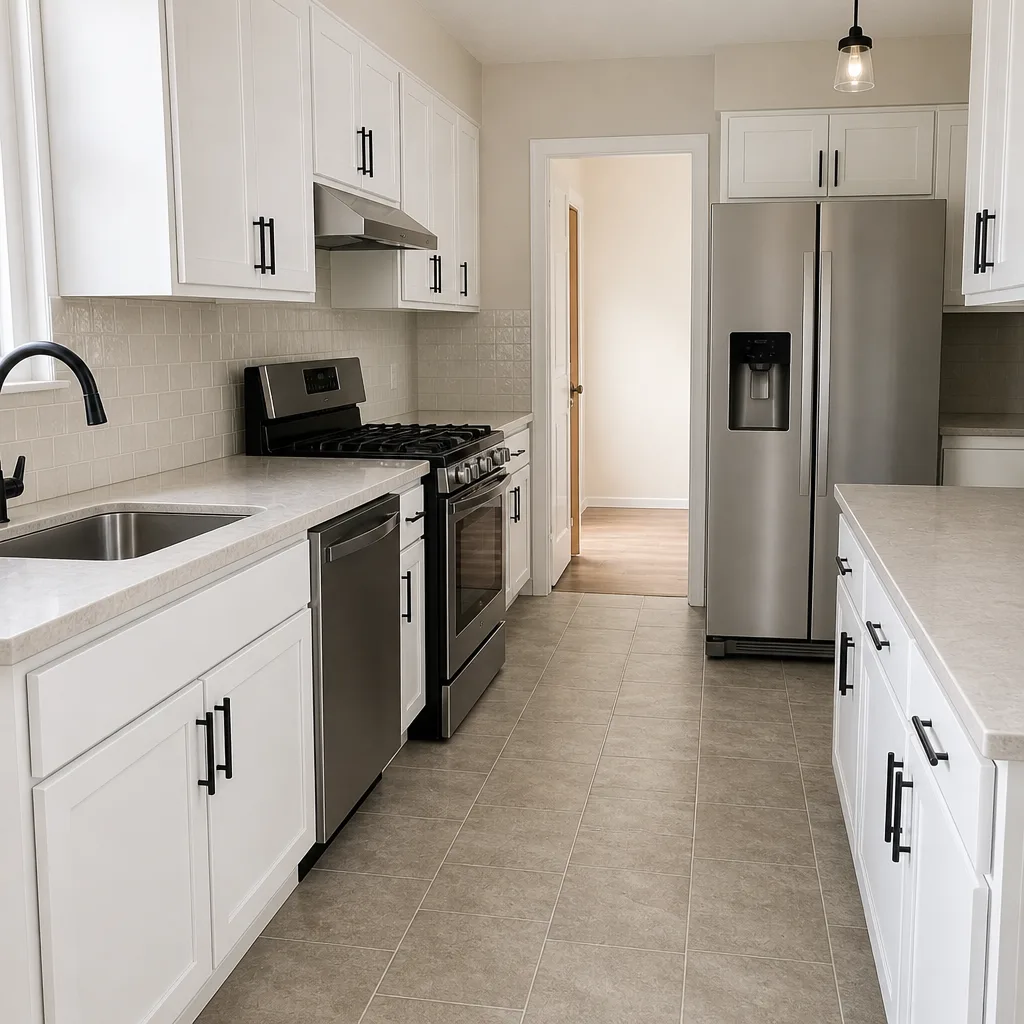 After
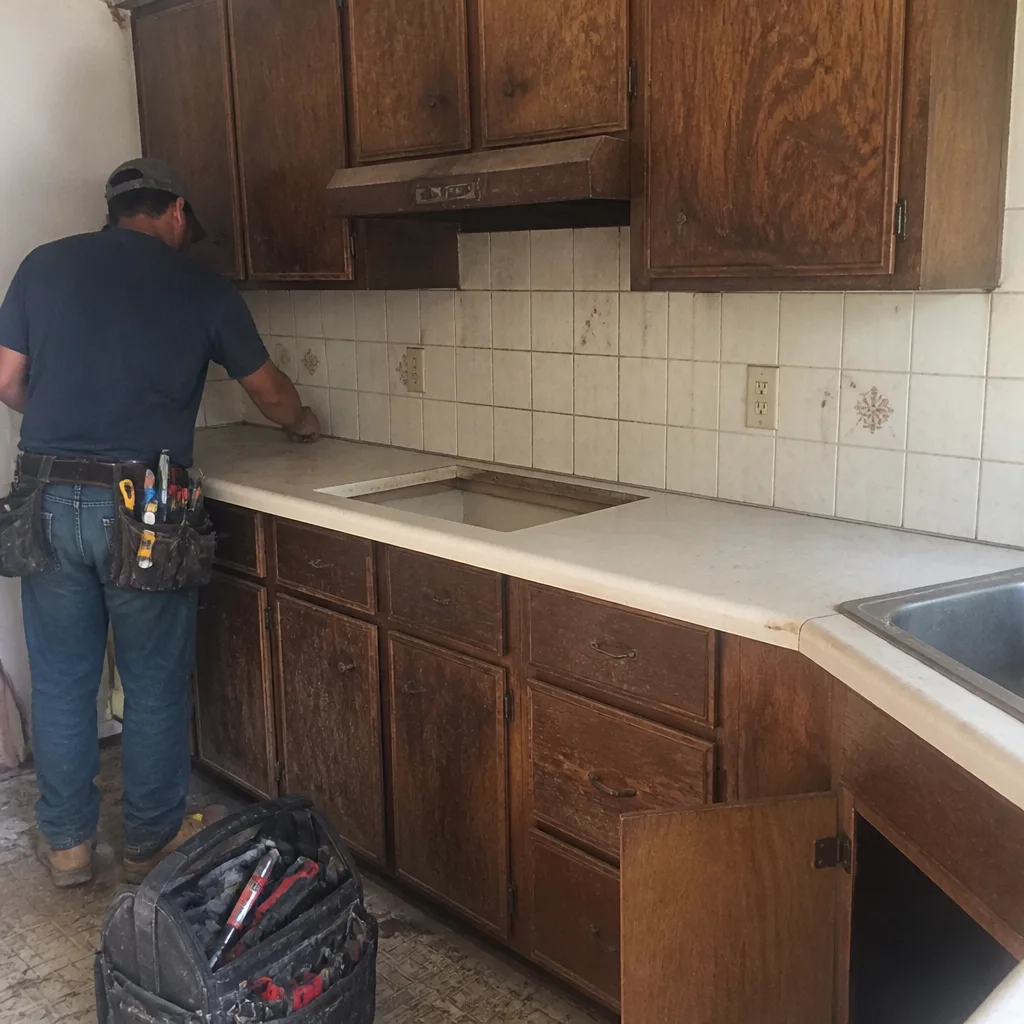 Before
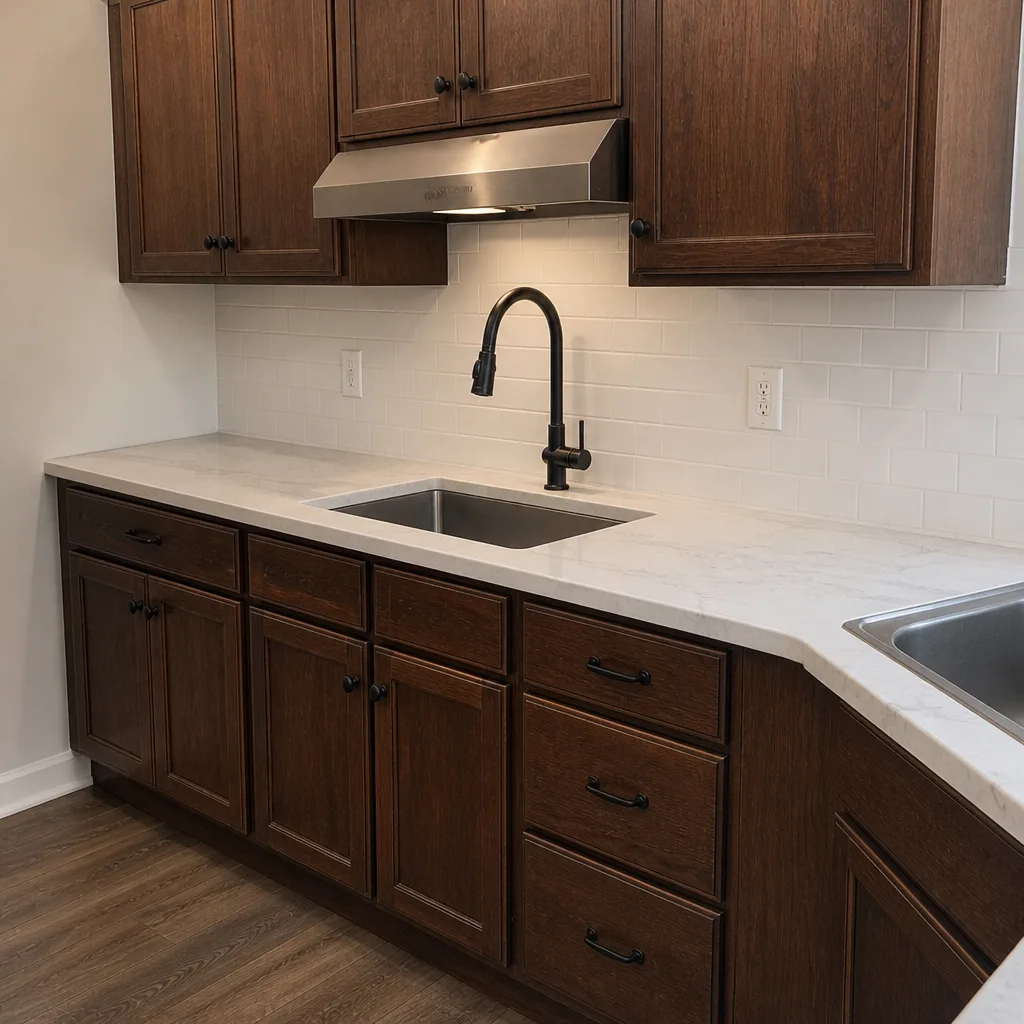 After