Last updated November 17, 2026







Free written scope consultation - allowances, timeline, and change-order rules on paper before a single trade is scheduled
Home Remodeling Maintenance Schedule: What to Do and When
Most homeowners don’t lose their kitchen remodel investment to one catastrophic failure. They lose it to twelve small tasks they kept meaning to do. North Texas heat and clay soil make the clock run faster than the national maintenance guides suggest – a summer that cracks a driveway here barely registers in Ohio. This guide lays out a maintenance schedule built for Irving’s actual conditions, not a generic four-season template. You’ll learn the specific checkpoints at 30 days, 6 months, and 12 months after a remodel, how to track tasks against your warranties, and where cosmetic wear ends and structural wear begins. We’ve spent years watching North Texas homes age in real time, and the schedule below is what we’d keep if it were our own house.
Quick Answer
A home remodeling maintenance schedule in Irving should be organized around two seasonal pressure points: late summer (August-September, after months of 100°F heat) and early spring (February-March, when clay soil shifts most). Run a full inspection at those two marks, plus specific checkpoints at 30 days, 6 months, and 12 months after any remodel. Track each task against the specific warranty it protects, so a missed seal or caulk line doesn’t void coverage on cabinetry, countertops, or siding.
Styles & brands we work with
- Kitchen remodeling
- Bathroom remodeling
- Home additions & ADU
- Roofing
- Windows & doors
- Driveway & pavers
- Fence
Table of Contents
- Why Irving Homes Need a Compressed Maintenance Calendar
- The Post-Remodel Checkpoints: 30 Days, 6 Months, 12 Months
- The Seasonal Checklist Built for Irving’s Actual Seasons
- Tracking Maintenance Against Your Remodel Warranties
- Cosmetic Wear vs. Structural Wear: When to Call vs. When to DIY
- Interior Maintenance: Kitchens, Bathrooms, and Whole-Home Systems
- Exterior Maintenance: Siding, Windows, and Grading
- Budgeting Maintenance Like a Subscription, Not a Surprise
Why Irving Homes Need a Compressed Maintenance Calendar
National maintenance guides assume four mild seasons. Irving runs on two extremes. Summer afternoons regularly push past 100°F, and that heat bakes exterior caulk, expands and contracts window frames daily, and cooks the sealant around exterior fixtures far faster than a coastal or northern climate would. Meanwhile, the soil beneath most of Irving is heavy clay – the kind that swells when wet and shrinks sharply when dry. That movement puts constant stress on foundations, exterior door frames, and anything graded against the house.
What that means practically: the caulk line you’d reseal every two years in a milder climate needs attention here annually. The grading around your foundation isn’t a once-a-decade check – it’s a twice-a-year job timed to the spring wet season and the late-summer dry spell. Window seals that hold for five years elsewhere may start letting in dust and heat within three in Irving.
We’ve walked through plenty of general contractor work in Irving where the remodel itself was excellent but the maintenance was a year behind, and the homeowner was facing a preventable repair. The work was fine. The calendar was wrong.
Compressed calendar, not more work. You’re doing the same tasks as a homeowner in a milder zone – just on a tighter timetable, timed to when Irving’s heat and soil actually move.
The Post-Remodel Checkpoints: 30 Days, 6 Months, 12 Months
Most homeowners never learn these three checkpoints, and they matter more than any annual checklist. The first year after a remodel is when warranties are most sensitive to what you did or didn’t catch.
30-day checkpoint. Walk every caulk line, seal, and joint in the finished space. New homes and remodels settle slightly in the first month – tiny cracks at the caulk line around a tub or countertop are normal and worth noting. Check that cabinet doors still align (settling can shift hinges), and that all grout lines look uniform with no hairline cracks. Photograph everything. If a hairline crack appears where there was none, that’s the time to flag it, not in month eight.
6-month checkpoint. This lands right in the heart of Irving summer if you remodeled in winter, and it’s when heat stress shows first. Re-check exterior caulk lines around windows and doors (they may have shrunk), look at the countertop seams where Cambria or Silestone panels join, and confirm the bathroom exhaust fan is drawing properly. Inspect any exterior paint or trim installed during the remodel for bubbling or blistering.
12-month checkpoint. Your full first-anniversary inspection. Re-seal any exterior caulk, check cabinet hinges and drawer glides for wear, look for any water staining around sinks and tubs, and photograph the entire space for your records. This checkpoint also doubles as the boundary test: if anything you’ve documented is a genuine defect, this is when a written guarantee is supposed to make it right.
Every kitchen remodeling project in Irving we complete gets a written record of these checkpoints because they’re what protects the warranty. Something that fails inside the guarantee period because a 30-day caulk crack was never noted is a very different conversation than something that fails after five years of honest wear.
The Seasonal Checklist Built for Irving’s Actual Seasons
Forget spring/summer/fall/winter. Irving’s real seasons for maintenance purposes are: the Feb-March soil-shift window, the May-June pre-heat window, the July-September heat peak, and the November freeze-prep window. Here’s what to do at each.
February-March (soil shift + wet). Walk the exterior perimeter after rain and check grading – soil should slope away from the foundation. Check for any new cracks in exterior door frames or window frames. Inspect roof flashing and any caulk at transitions. Clean gutters before the spring rain.
May-June (pre-heat). Re-seal exterior caulk lines on windows and doors before 100°F days arrive. Check exterior siding and trim for lifting. Test the A/C and any exhaust fans. Inspect interior caulk around kitchen and bath fixtures one more time.
July-September (heat peak). The interior matters most now. Check that kitchen exhaust and bath fans are working properly. Look for heat-related shrinkage at cabinet joints. Watch for condensation around windows – if you see it, the seal is likely already compromised and it’s worth checking with a window specialist.
November (freeze prep). Disconnect exterior hoses, drain spigots, and check that any exterior plumbing is insulated or shut off. Re-check grading one last time before winter rain. Seal any new exterior gaps. Take your annual photographs for the maintenance log.
Tracking Maintenance Against Your Remodel Warranties
Here’s a thing most homeowners never get told: warranties on kitchens, baths, and exterior systems are conditional on maintenance being performed. If a cabinet door fails because the hinge was never adjusted, or a countertop separates because the caulk joint was never re-sealed, the manufacturer may well decline a claim. The company that installed it might have a written guarantee that would still honor some of it – but the layer above them, the manufacturer, often doesn’t.
A simple tracking system works best. For every remodel, create a single document (physical binder or digital note) with these entries:
- Product name and warranty length. E.g. “Cambria quartz – lifetime warranty” or “KraftMaid cabinetry – limited lifetime.”
- Maintenance required to keep the warranty valid. Every product has a specific minimum. Cabinetry often requires cleaning hinges and lubricating glides. Countertops often require specific cleaning – never abrasives on quartz.
- Date each maintenance task was last performed. Two columns: task and date.
- Photos at each checkpoint. The 30-day, 6-month, and 12-month photos should all live in the same folder named “kitchen 2026” or similar.
We install Cambria and Silestone countertops and KraftMaid and Wellborn cabinetry on most of our Irving projects precisely because each carries its own manufacturer warranty alongside the written installation guarantee. That’s two layers of protection instead of one – but both depend on basic maintenance actually being done. A bathroom remodeling project with a Kohler or Moen fixture, for instance, has a specific warranty on the finish and internals – and specific cleaning requirements that keep the finish intact.
When we hand over a finished project, we hand over the warranty booklet alongside it. It’s part of what makes a written guarantee meaningful: not just the promise, but the tracking plan behind it.
Cosmetic Wear vs. Structural Wear: When to Call vs. When to DIY
Homeowners struggle with this distinction, and it’s the difference between a $60 tube of caulk and a $6,000 repair. Here’s the split.
Cosmetic wear (DIY). These are the tasks you can handle yourself in an afternoon:
- Re-caulking around sinks, tubs, and countertops
- Adjusting cabinet hinges and drawer glides
- Tightening loose fixtures and handles
- Re-sealing grout lines (with the right product)
- Touching up paint on interior trim
- Lubricating door hinges and window tracks
Structural wear (call a professional). These are the tasks that should never be DIY attempts on a substantial remodel investment:
- Any crack in the foundation or gap between exterior wall and ground
- Water staining or moisture behind walls or under floors
- Window seals that have failed (fogging between panes, water intrusion)
- Cabinet or countertop failures at the mounting points
- Any sign of moisture or soft spots in flooring
- Tile lifting or any grout line that has widened into a crack
- Roof flashing, siding separation, or exterior trim lifting
- Electrical, plumbing, or gas issues – always
The rule of thumb: if the task involves anything structural, electrical, or plumbing, or if it’s a repair to a finished surface you paid real money for, don’t try to fix it. That’s a call, not a project. A warranty covers the repair – but not if the homeowner attempted a DIY fix first. We’ve seen a homeowner “re-seal” a failing window sealant with the wrong product and lose the whole warranty claim. That’s an expensive lesson to learn from a $20 tube.
There’s a safety angle, too. Windows are heavy and often on upper floors. Gas lines and electrical panel work can be fatal. If the task involves heights or high-voltage components, it’s always a professional call.
Interior Maintenance: Kitchens, Bathrooms, and Whole-Home Systems
Interior maintenance in Irving splits by room. Here’s what each room actually needs on the compressed calendar.
Kitchen. Twice yearly, clean and lubricate cabinet hinges and drawer glides. Clean the range hood filter monthly. Re-seal the caulk joint between the countertop and backsplash every 12-18 months (heat from cooking accelerates this). Check under-sink cabinetry for water staining quarterly. If you have stone countertops, re-seal annually – some stone types need it more. Cambria quartz, by contrast, doesn’t require sealing in most cases but does require specific non-abrasive cleaners.
Bathroom. The bathroom is the highest-humidity room and the one most sensitive to maintenance lapses. Re-caulk tub and shower surrounds every 12-18 months in Irving – heat and hard water combine to wear down caulk faster than in milder zones. Check the exhaust fan quarterly; a bath fan that’s not pulling properly will lead to moisture behind tile. Inspect grout lines annually and reseal them. Check under-sink cabinetry for leaks quarterly. A failed toilet seal at the base should be called, not DIY – every hour of leak damage adds up.
Whole-home. These interior systems round out the schedule:
- Check smoke and CO detectors monthly, replace batteries annually.
- Test GFCI outlets in kitchens and baths monthly.
- Inspect exhaust fans in kitchens and baths for dust buildup every 6 months.
- Inspect the attic (if accessible) once a year for water staining or pest entry.
- Check window operation and seals in every room once a year.
We install CWS and ECO Window Systems products on Irving jobs regularly, and each carries its own seal warranty that’s affected by how the window is maintained. An annual window-clean and seal-test is what keeps those warranties active.
Exterior Maintenance: Siding, Windows, and Grading
Exterior wear in Irving is aggressive. Here’s the schedule.
Grading. Twice a year – February and November. Soil must slope away from the foundation or the clay soil will trap water against the slab. Add soil if the slope has settled. This is the single most important low-cost task for foundation health in Irving.
Siding. James Hardie siding holds up well in North Texas, but the caulk joints at windows, doors, and corners need re-sealing yearly. Check for lifting or rotation at panel seams seasonally. If you see a soft spot, that’s a call.
Windows. Check exterior caulk and weather stripping annually. Notice fogging between panes – that means the seal has failed, and it’s a warranty claim, not a DIY fix. ES Windows products on Irving homes we’ve worked with perform well but still need yearly seal checks.
Roof and flashing. Annual inspection (typically in early spring or late fall). Check for lifted shingles, damaged flashing at chimneys and vents, and any water staining on interior ceilings after heavy rain. This isn’t a DIY task for anyone uncomfortable with heights.
Gutters. Clean twice a year – spring and fall. Fit gutter screens to reduce cleaning. Check that downspouts aren’t dumping water next to the foundation – extend them if they are.
Budgeting Maintenance Like a Subscription, Not a Surprise
The frame shift matters most here. Homeowners who budget maintenance as a subscription – a fixed line item each month – spend less on repairs than homeowners who spend nothing until something breaks. The subscription money covers small costs so they don’t roll into large ones.
A realistic annual maintenance budget for an Irving home that’s been remodeled in the last few years:
- Consumables (caulk, sealant, cleaning supplies): $150-$300 per year
- Professional seasonal check (optional but valuable): $250-$500 per year
- Reserve for unexpected small repairs: $500-$1,200 per year
- Reserve for genuine warranty-excluded repairs: $500-$1,500 per year
That’s $1,400-$3,500 per year most household budgets can absorb if planned. It’s the difference between a $400 caulk-and-seal visit and a $7,000 window replacement that could have been avoided. The math isn’t subtle. A schedule you actually follow is the single best protection of a remodel investment – often the difference between a fifteen-year kitchen and a twenty-five-year kitchen.
This is part of why every written guarantee we put on a project includes a maintenance plan the homeowner can actually follow – because the guarantee is only as good as the maintenance behind it. If you want to understand how the guarantee and the schedule work together on a specific project, our Irving home remodeling services page lays out what’s covered and for how long. Say the price before the work. Show up when we said we would. Leave it clean. And back the work with a written guarantee that’s actually honored. That’s what makes a maintenance schedule worth writing down.
Common Mistakes to Avoid
- Waiting for a failure before checking anything. The whole point of a schedule is catching problems when they’re cheap. A monthly five-minute walk beats an annual four-hour crisis every time.
- Skipping the 30-day checkpoint. It’s the single most valuable post-remodel task and the one most often forgotten. New work settles in the first month – the cracks are subtle then and unmissable later.
- Using the wrong product to reseal a warranty-covered joint. Bathroom silicone isn’t the same as kitchen silicone isn’t the same as exterior paintable. Wrong product can void warranty on the finish or the joint.
- Confusing contractor warranty with manufacturer warranty. The written installation guarantee and the KraftMaid or Kohler manufacturer warranty are separate documents with separate claim processes. Know which one covers what.
- Trying to fix a structural issue yourself because “it looks minor.” A hairline crack at the foundation wall doesn’t look expensive. Repairing it badly costs three times what calling costs.
- Ignoring the grading around the foundation because it’s “not part of the remodel.” In Irving’s clay soil, poor grading is the leading preventable cause of foundation cracks – and the leading avoidable cost after a remodel.
- Not taking photos at every checkpoint. Documentation is what turns “I think this was a defect” into “here is the proof that this was a defect inside the guarantee period.”
See the difference
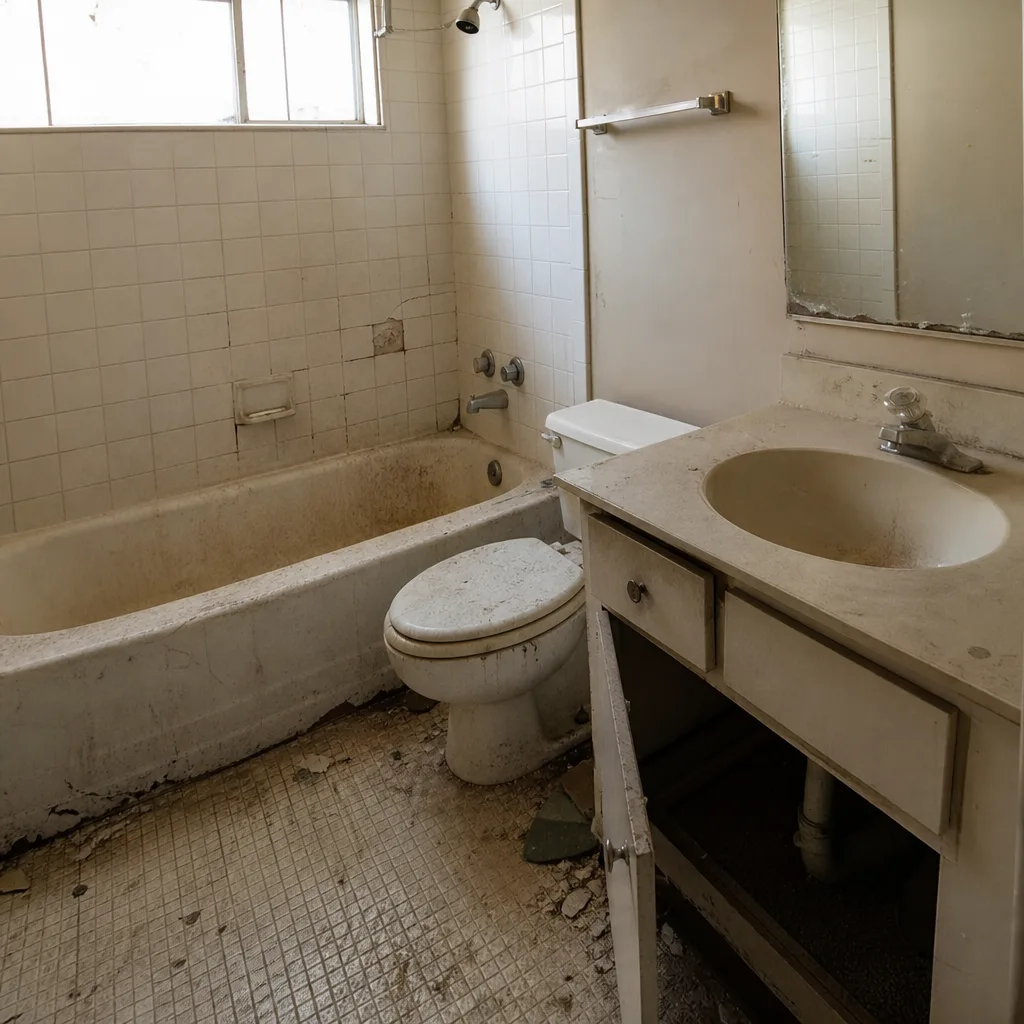 Before
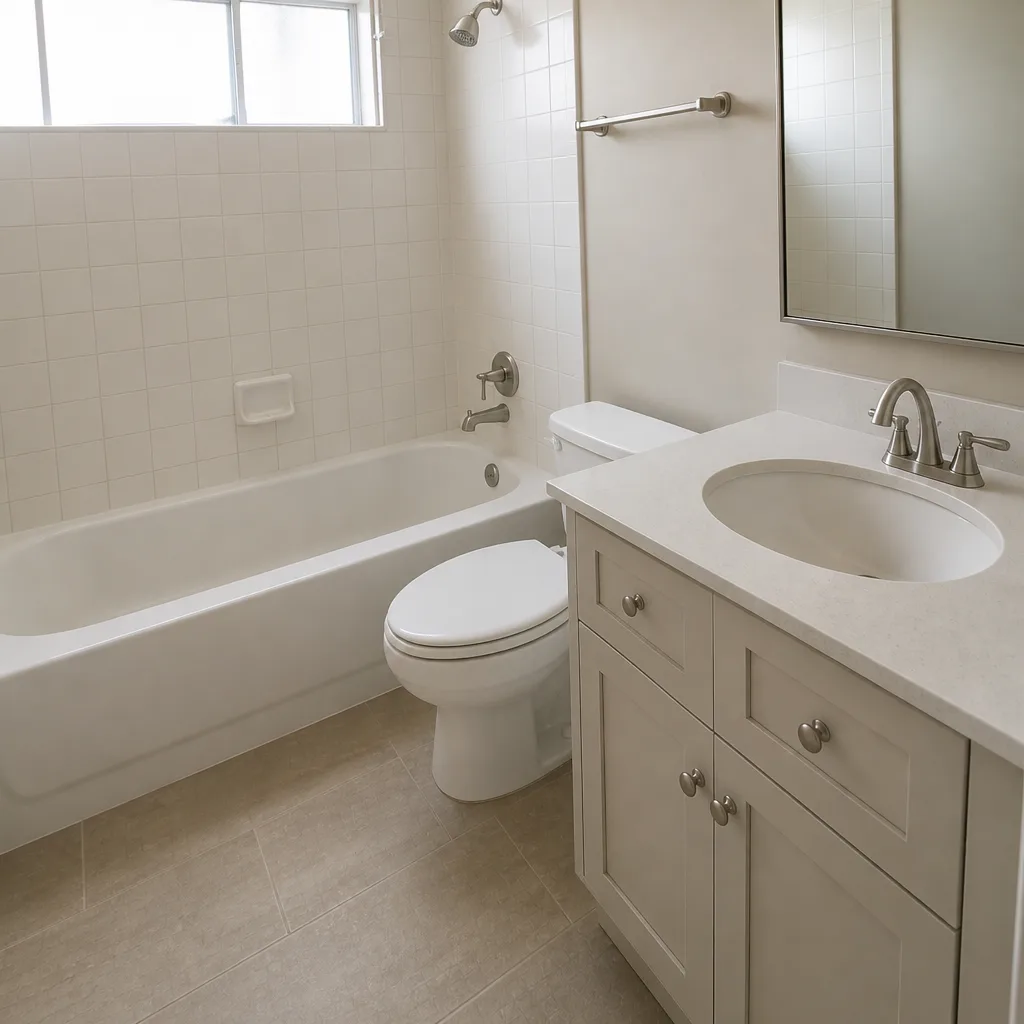 After
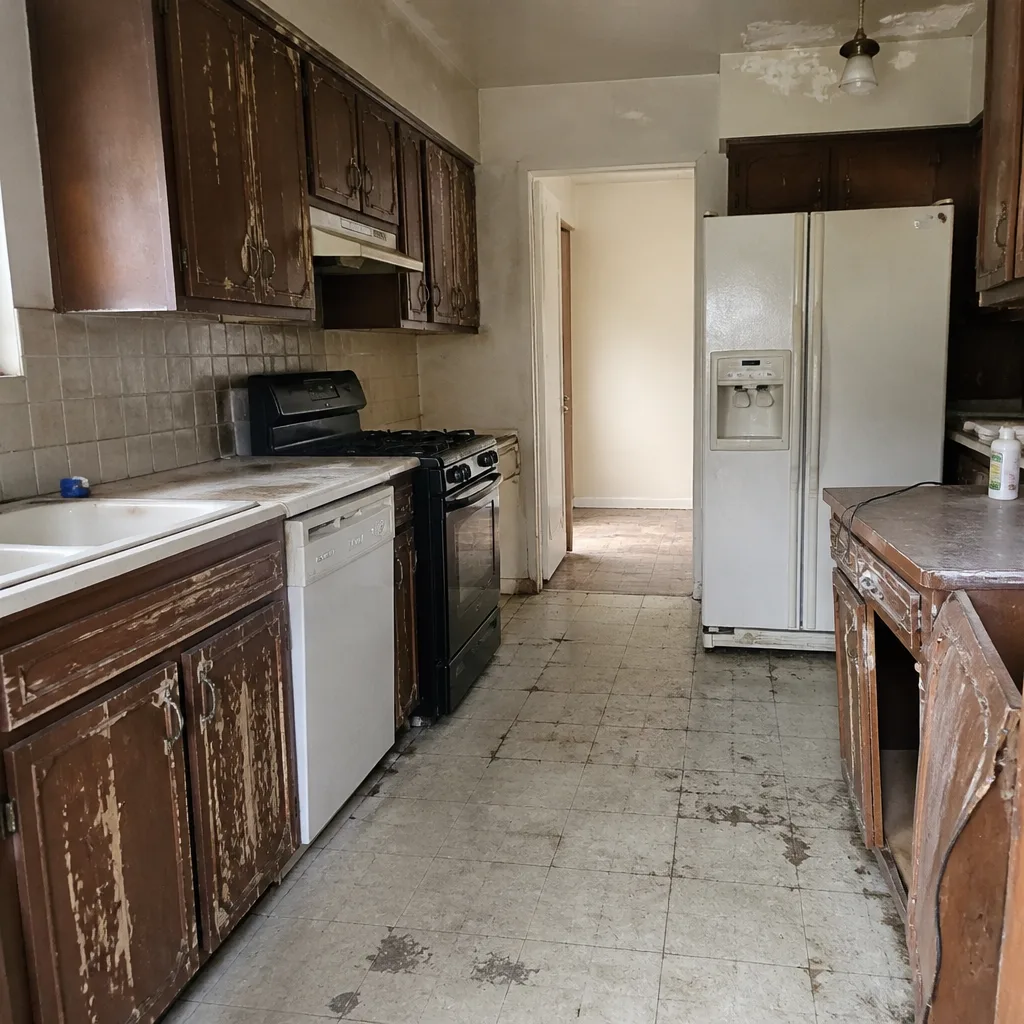 Before
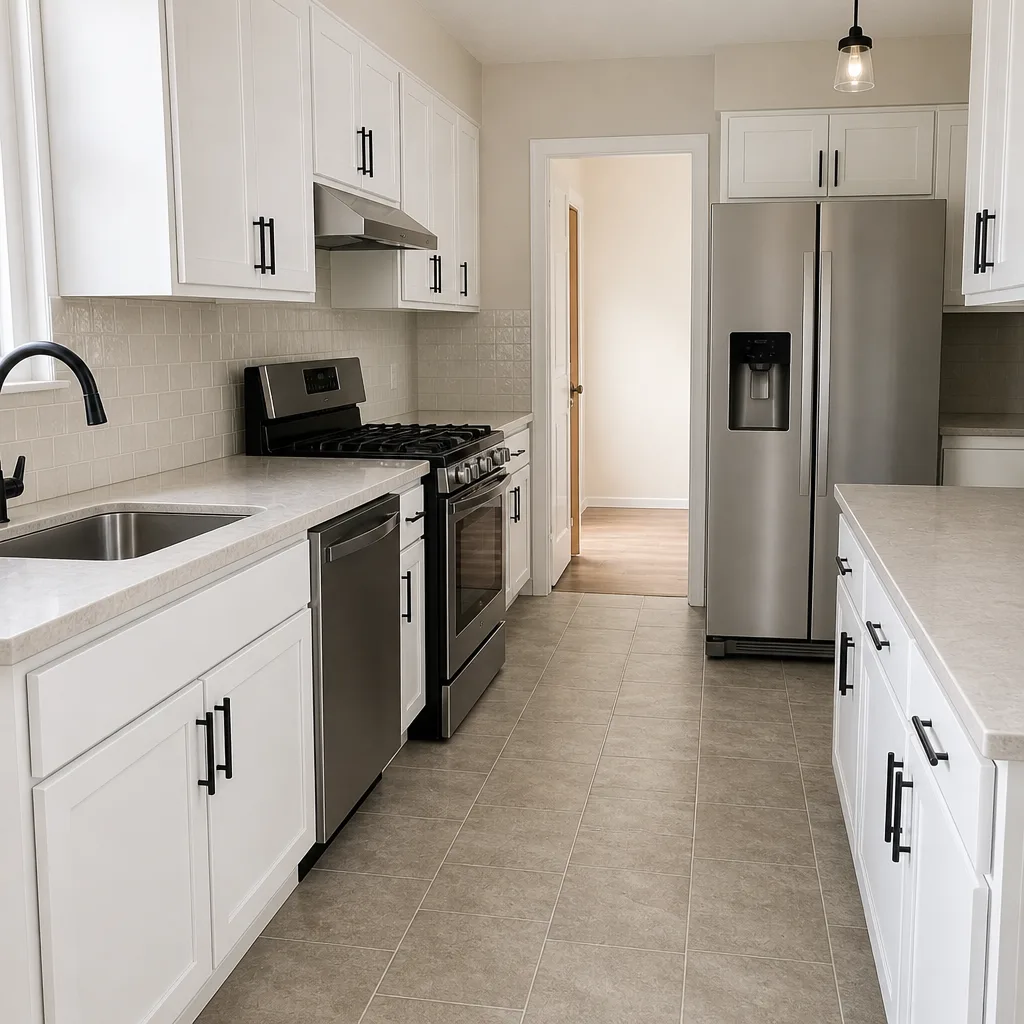 After
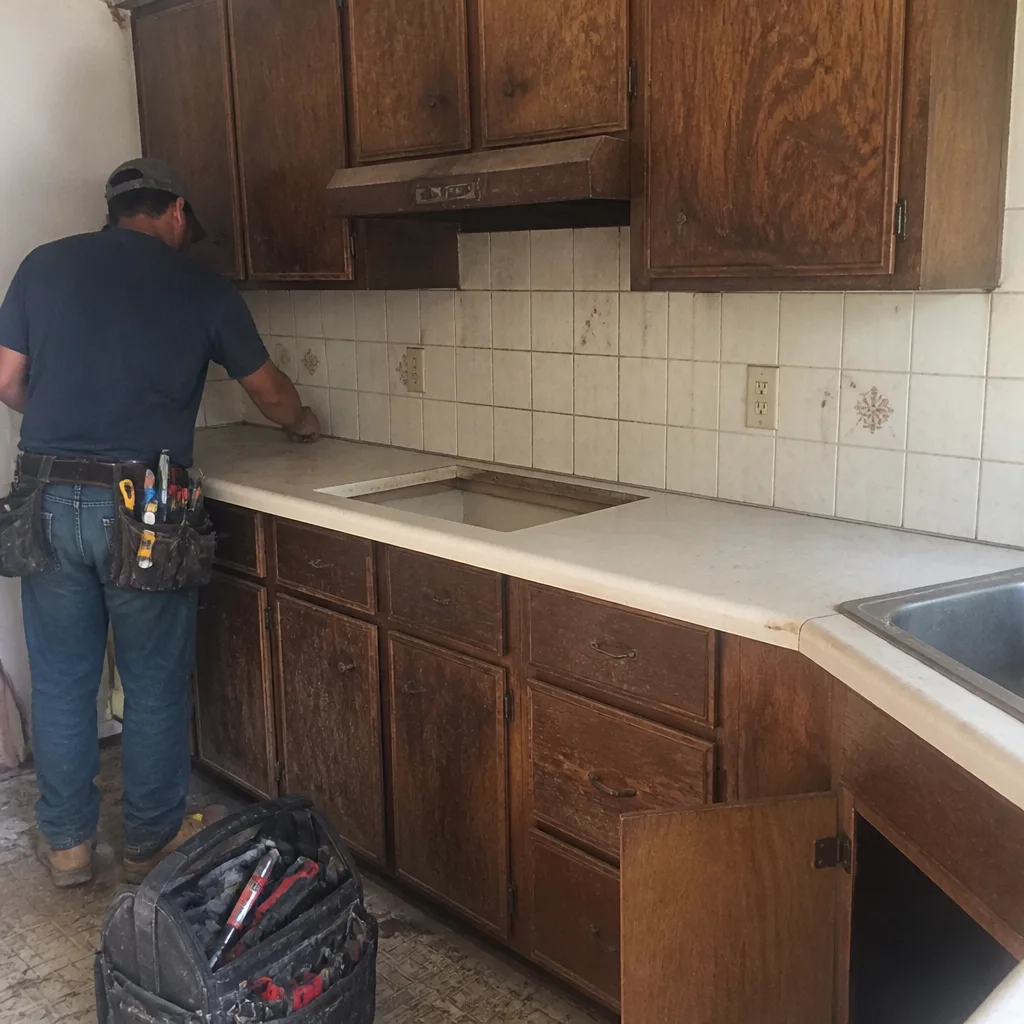 Before
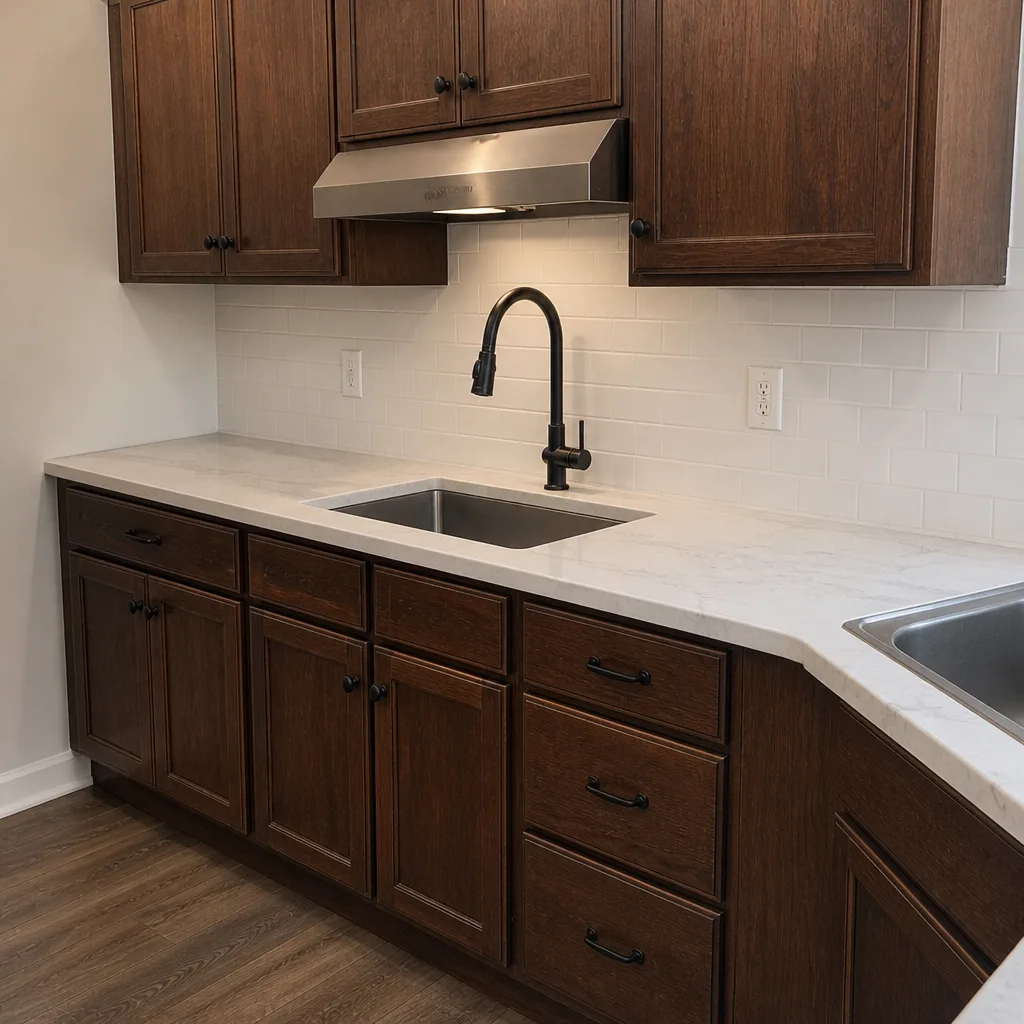 After
When to Call a Professional
Call a professional when the task is structural, electrical, plumbing, or high-altitude. That covers any foundation crack, any water infiltration behind walls or under floors, any window that’s failing its seal, any tile that’s lifting, any exterior siding separation, any electrical or gas work, and any task requiring you to be on a ladder above first-floor height. Call when the failure involves a material under warranty, because DIY attempts can void the coverage. Call when you’re unsure – a 15-minute conversation with a pro is free and prevents a lot of expensive mistakes. Our line is answered by a real person around the clock, not a voicemail. And when the answer is a repair inside your guarantee period, we come back at no charge – that’s the free-return commitment in writing. Penhallow Remodeling Irving offers free estimates in Irving – call (844) 320-5939.
Frequently Asked Questions

Twice a year fully – February and November – plus three specific post-remodel checkpoints at 30 days, 6 months, and 12 months after completion. The 30-day checkpoint is one-time per project; the seasonal schedule runs twice yearly. Between those, check monthly for the fast-moving items: smoke detectors, GFCI outlets, and any sign of a leak under sinks.
Re-sealing the caulk joint between the countertop and backsplash, and between the countertop and the backsplash wall, every 12-18 months. In Irving’s heat and with hard water in some areas, caulk dries out faster here than in milder zones. The cost is ten minutes and a tube of caulk. The failure mode – water getting behind the countertop and into cabinetry – is far more expensive.
Not by doing routine maintenance carefully with the right products – and most warranties expect you to. You can lose coverage by using the wrong product (for instance, abrasive cleaners on Cambria quartz, or the wrong caulk type on a specific joint) or by attempting to “fix” a structural issue. When a task is on the DIY list, you’re fine. When it’s on the call-a-professional list, doing it yourself is a gamble on your warranty.
Clay soil shifts significantly with moisture – swelling when wet and shrinking when dry – and that movement stresses foundations, exterior door frames, and window frames. The practical result is that grading checks need to happen twice a year, not once a decade, and any crack in the exterior frame after a wet-then-dry cycle is worth documenting. It’s also why the February and November checkpoints matter more in Irving than in most of the country.
Cosmetic wear is surface-level: caulk shrinking, hinges needing adjustment, grout fading, paint scuffing, minor surface scratches. Structural wear is deeper: cracks in the foundation, water staining behind walls, widening gaps at frame joints, lifting tiles, failing window seals, and any soft spots in flooring. Cosmetic is yours to handle. Structural should always be a call.
Often yes – but the details matter. Manufacturer warranties have specific maintenance requirements that vary by product. If a specific task the product requires was clearly skipped over a long period, a claim can be denied. If you’ve kept a simple document of dates and tasks, that record is your best argument. This is exactly why we hand over a maintenance log with every completed project and tell homeowners to photograph everything at every checkpoint. Call (844) 320-5939 with any question about warranty coverage – the answer is free.
The Bottom Line
A home remodeling maintenance schedule in Irving works on a compressed calendar. Two full inspections a year (February and November – don’t skip them), three post-remodel checkpoints (30 days, 6 months, 12 months), and a monthly five-minute walkthrough for fast-moving items. Track everything against the specific warranty it protects. Know the difference between cosmetic wear and structural wear – the first is DIY, the second is a call. Budget maintenance like a subscription, $1,400-$3,500 a year for a recently remodeled home, not like a surprise. That’s the difference between a fifteen-year kitchen and a twenty-five-year one. The work is not glamorous, but it’s what keeps the investment working.
Get a Written Price Before Any Work Starts

Penhallow Remodeling Irving gives every homeowner a written price before any work begins – not a verbal ballpark, not a range that shifts on demo day. A written number you can hold us to. Every project comes with the 365-Day Done Right Promise, a written guarantee on every repair, and a free return visit if a repair fails. Our technicians are background-checked and arrive in uniform. Someone answers the phone around the clock – no voicemail. Call (844) 320-5939 for a free estimate, and we’ll walk you through the maintenance plan that comes with the work.
Written by the team at Penhallow Remodeling Irving.