
Last updated November 17, 2026








Free written scope consultation - allowances, timeline, and change-order rules on paper before a single trade is scheduled
Home Remodeling Troubleshooting: Common Problems and How to Fix Them
Most remodeling disputes we see in Irving don’t start with a bad installation. They start with a question the homeowner can’t answer: is this something the contractor owes me, or something I own now? That single uncertainty decides whether you spend $400 on a fix or lose $4,000 in leverage. The homeowners who come out ahead aren’t the ones who yell loudest. They’re the ones who can point to a written price and a written guarantee and say, plainly, “here’s the term that covers this.” This guide breaks down the four categories of remodel problems, how to document a claim, what tends to fail by room, and what your real enforcement options are in Texas.
Quick Answer
Remodel problems fall into four buckets: installation defects (the contractor’s responsibility within the warranty period), material defects (covered by the manufacturer, with the contractor helping you file), normal wear (yours to maintain), and pre-existing conditions uncovered mid-job (which should have been documented and disclosed before work continued). Which bucket a problem lands in determines who pays. If you have a written guarantee with specific terms, that answer takes five minutes. If you agreed on a handshake and a text thread, it can take months.
Styles & brands we work with
- Kitchen remodeling
- Bathroom remodeling
- Home additions & ADU
- Roofing
- Windows & doors
- Driveway & pavers
- Fence
Table of Contents
- The Four Categories of Remodel Problems (and Who Pays)
- How to Document a Remodeling Dispute So Your Claim Holds Up
- Kitchen Problems: Cabinet Drift, Grout Cracks, and Countertop Seams
- Bathroom Problems: Caulk Gaps, Hollow Tile, and Weak Exhaust
- Whole-Home Problems: Paint at Trim Joints and Floor Gaps at Thresholds
- Your Enforcement Options in Texas: TDLR, Small Claims, and Defect Consultants
- What a 365-Day Guarantee Actually Means in Practice
- Common Mistakes to Avoid
The Four Categories of Remodel Problems (and Who Pays)
Before you call anyone, sort the problem. Nearly every post-remodel complaint fits one of these four boxes, and each box has a different responsible party.
- Installation defects. The work was done wrong or sloppily: tile set without proper substrate, a cabinet run shimmed unevenly, a door hung out of plumb. This is the contractor’s responsibility, and it’s what a workmanship warranty exists to cover. If the failure shows up inside the guarantee period, the contractor fixes it at no charge.
- Material defects. The product itself failed: a cabinet door that warps, a fixture that leaks at the cartridge, a countertop slab with a fissure through the body. These run through the manufacturer’s warranty. A good contractor helps you file the claim and coordinates the swap, but the manufacturer covers the part.
- Normal wear. Caulk shrinking at a wet joint, grout hazing, minor paint scuffs, a slight floor creak as a house settles. This is maintenance, and it belongs to the homeowner. Every home needs a small annual touch-up budget, usually $150 to $400 depending on how much wet-area caulk your bathrooms use.
- Pre-existing conditions. Rotted framing behind a shower wall, a slow supply-line leak under a cabinet, undersized joists under a tile floor. These get uncovered during demolition. The right process is to stop, photograph, price the fix in writing, and get your approval before continuing. If nobody documented it and nobody told you, that’s a process failure.
In Irving, we see the fourth category more than people expect. A lot of housing stock here went up in the 1970s and 1980s, and plumbing that was fine under a linoleum floor can be a slow leak under a new tile assembly. The way we handle it is the same way we handle pricing: written before work starts. That’s the core of Penhallow Remodeling Irving home service, and it’s why we insist on writing down what we found before touching anything further.
How to Document a Remodeling Dispute So Your Claim Holds Up
A claim without documentation is a conversation. A claim with documentation is a demand. Here’s the order that works.
- Photograph the problem with scale. Put a tape measure or a coin next to the crack, gap, or hollow spot. A photo of a grout line with no reference point is easy to dispute. A photo with a quarter in it is not.
- Write a dated timeline. Date the work started, date you first noticed the issue, date you first reported it, and how you reported it (phone, email, text). Keep the receipts.
- Pull the contract and find the warranty clause. Highlight the coverage period, what it covers (labor and materials, ideally), and the exact process for invoking it. If the contract has no warranty clause, you’re relying on general contractor standards and Texas law, which is a slower road.
- Send notice in writing. Email is fine. State the problem, the date you noticed, the contract clause you believe applies, and a reasonable deadline for a response. Attach your photos.
- Get a second professional opinion in writing. If the contractor disputes the cause, a one-page written assessment from another licensed professional carries weight. It costs $150 to $400 in the Dallas area, and it changes the tone of the conversation immediately.
What happens without documentation? You end up in a he-said-she-said about when the problem started, whether it was pre-existing, and whether you were told about it. We’ve watched homeowners lose legitimate claims purely because they reported a leak by phone and never followed up in writing. A single email would have changed the outcome. The technicians we work with bring up to 22 years of experience, and the first thing any of them will tell you is: put it in writing.
Kitchen Problems: Cabinet Drift, Grout Cracks, and Countertop Seams
Kitchens take the most traffic and the most humidity swings, which is why the same three problems show up again and again. Here are the likely causes and what to do about each.
Cabinet doors that drift out of alignment
Doors that suddenly won’t close flush, or a gap that opens along one edge of a cabinet run, usually trace to one of three causes: the hinges have worked loose from seasonal wood movement, the cabinet boxes were installed out of level and are now showing it, or the cabinets weren’t anchored to studs and have shifted. Hinges can be re-adjusted with a screwdriver. Boxes that were never level, or never anchored properly, are an installation issue. That belongs to the contractor if it shows up inside the warranty. Our Kitchen Remodeling in Irving projects use KraftMaid and Wellborn cabinetry, and we check anchoring on every box before the countertop goes in for exactly this reason.
Cracking grout on backsplash and floor tile
Hairline cracks in grout along a backsplash are usually cosmetic and fixable with a grout refresh. Cracks that run in a straight line across a floor, or that open and close with the seasons, suggest movement underneath: an underlayment that wasn’t properly secured, or a deflection issue in the subfloor. Straight-line cracks wider than a credit card edge are worth investigating before you re-grout. Re-grouting over a moving substrate just buys you another crack in six months.
Countertop seam separation
Seams between slab sections open when the cabinets underneath settle, or when the seam wasn’t properly bonded at install. A seam that opens within the first year is a workmanship issue. Seams that open after three or four years, particularly over a dishwasher, often trace to heat and moisture cycling in the cabinet run. Cambria, Silestone, and Caesarstone all carry their own manufacturer warranties, and installation defects at the seam should be handled under the installer’s workmanship coverage. Those two layers work together, and it helps to know which one you’re invoking.
Bathroom Problems: Caulk Gaps, Hollow Tile, and Weak Exhaust
Bathrooms are where small problems turn into expensive ones fastest, because water finds every gap. Three problems account for most of the service calls we hear about.
- Caulk gaps at the shower pan. A gap between the tile and the shower pan, or between the pan and the floor, lets water behind the tile assembly. Sometimes it’s just caulk shrinkage from normal temperature cycling, and re-caulking fixes it. Sometimes it’s movement in the pan itself, which points to a framing or pan installation issue. If you can push the pan and see the gap change, that’s not a caulk problem.
- Hollow spots in tile. Tap across the floor with the handle of a screwdriver. A dull thud is fine; a hollow ring means the tile isn’t fully bonded to the thinset. One or two hollow tiles near a cut edge can happen. A pattern of hollow tiles across a floor usually means the thinset wasn’t spread evenly, or the cement board substrate (the moisture-resistant layer behind your tile) wasn’t properly installed. That’s an installation defect and a legitimate warranty claim.
- Exhaust fan that doesn’t clear the mirror. If your mirror fogs for more than a couple minutes after a shower, the fan is undersized for the room or venting into the attic instead of outside. Bathroom fans should be sized to the room’s cubic footage and ducted to the exterior. A fan that runs but doesn’t move air is often a duct problem, not a fan problem. This one matters for Irving homes in particular, because our summer humidity plus a weak fan is a recipe for paint peeling and wood swelling.
Bathroom remodels are where we spend the most time on the details homeowners never see: waterproofing membranes, pan slope, and duct routing. Our Bathroom Remodeling in Irving work includes Grohe and Sterling fixtures, and we route every exhaust to the exterior, no exceptions. It’s the difference between a bathroom that lasts and one that needs a tear-out in eight years.
Whole-Home Problems: Paint at Trim Joints and Floor Gaps at Thresholds
Whole-home remodels leave you with more surfaces to watch, and the problems that show up are usually about how materials move against each other.
Paint peeling or cracking at trim joints. Where painted trim meets a wall or a casement, movement causes the joint to crack. In Irving, our summer heat and the seasonal humidity swing means wood trim expands and contracts noticeably between July and January. A hairline crack at a caulked joint is normal and easily touched up. Peeling that runs down a wall, or paint flaking off in sheets, points to a moisture problem or paint applied over a damp surface. If the peeling is concentrated around windows or doors, check for a leak before repainting.
Floor gaps at thresholds. A gap between a new floor and a doorway threshold, or between two flooring materials that meet in the middle of a room, is usually a transition strip issue. Sometimes it’s seasonal movement; hardwood floors will show a small gap in winter and close it in summer. Gaps wider than 1/8 inch that stay open year-round suggest the flooring wasn’t properly acclimated before install. That’s a workmanship item. James Hardie siding on the exterior, GAF and CertainTeed roofing above it, and any flooring below all need installation methods that account for how they move in Texas heat. When a contractor skips acclimation, you find out six months later.
For whole-home work, the documentation problem gets worse because there’s simply more surface area to check. This is where a written scope and a written guarantee earn their keep. Our General Contractor in Irving service is designed around that: written scope, defined schedule, and a written price before anything starts. On a whole-home job, the paperwork is the product as much as the finish work.
Your Enforcement Options in Texas: TDLR, Small Claims, and Defect Consultants
Texas doesn’t license general contractors the same way it licenses electricians and plumbers. That means your first enforcement tool is the contract, not a licensing board. But there are real options, and they work best in this order.
- Written demand to the contractor. Always start here. State the problem, cite the warranty clause, attach documentation, and give a deadline. Most legitimate contractors respond to a clean written demand because they know what a bad record looks like.
- Texas Department of Licensing and Regulation (TDLR). The TDLR handles complaints about work by trades it licenses, including electricians, plumbers, and air conditioning technicians. If your remodel problem involves work done by one of those licensed trades, a TDLR complaint is a real lever. For general carpentry, cabinetry, or tile work, TDLR generally does not have jurisdiction over the general contractor. Know the difference before you file.
- Small claims court. In Texas, the small claims limit in justice court is $20,000. That covers most single-room repair disputes. You don’t need a lawyer, you need documentation, and a judge will weigh a signed contract and photos far more heavily than a verbal account. Filing fees are modest, and the paperwork itself often prompts a settlement.
- A construction defect consultant. For disputes above $15,000, or where the cause is genuinely contested (is that crack from settling or from bad installation?), an independent consultant writes a report you can use in mediation or court. Reports typically run $500 to $1,500 in the Dallas area. It’s an expensive step, but it’s the step that ends the argument.
In our experience, 90% of disputes that reach a consultant could have been settled with a written guarantee and a documented phone call. That’s why we put both in writing from the start.
What a 365-Day Guarantee Actually Means in Practice
“365-day guarantee” means the contractor is responsible for making a defective installation right for a full year after the work is complete. In practice, three things decide whether that guarantee means something or nothing.
What’s covered. A real guarantee covers materials and labor. A warranty that only covers materials still leaves you paying for the tear-out and the reinstall, which is most of the cost. When you read a guarantee, look for the words “materials and labor.”
What happens if it fails. A guarantee should specify the process: you call, you describe the problem, someone comes out and inspects, and if the work failed, it gets fixed at no charge. No service call fee, no re-inspection fee. The 365-Day Done Right Promise we operate under means if the work fails inside the year, we come back and fix it at no charge, and the free second visit applies if the first repair doesn’t hold.
How to invoke it. Do it in writing. Email the contractor with a description of the problem, the date you noticed it, and your photos. Ask for a written response with a scheduled visit. That email becomes the paper trail if you ever need it. A live person answers our phone 24/7, which means you can report a problem at 9 p.m. on a Sunday and get a real human, but you should still follow it up in writing.
Every Penhallow job carries that written guarantee, and every technician is background-checked and arrives in uniform. You know exactly who’s coming to your door, and you know exactly what they owe you.
Common Mistakes to Avoid
- Agreeing to a change order verbally. If the fix isn’t written down, it didn’t happen. Any change to scope or price should come as a written change order before the work resumes, even if it’s a $300 item.
- Re-caulking over a moving joint. Caulk is a sealant, not a structural fix. If the joint moves, re-caulking just hides the problem for a few months. Find the cause first.
- Reporting a problem only by phone. Verbal reports are impossible to prove. Follow every call with an email that restates the issue and the date.
- Ignoring seasonal gaps. Irving homes move between summer and winter. A gap that opens and closes with the seasons is normal. A gap that keeps growing is not. Know which one you have before you panic.
- Letting an unlicensed trade do licensed work. Electrical, plumbing, and HVAC work requires a licensed trade in Texas. If your remodel included any of those and the person who did it wasn’t licensed, that’s a problem worth addressing before something fails.
- Hiring on the cheapest bid without a written scope. A bid that’s $6,000 less than the next one isn’t cheaper; it’s a different job. Read the scope line by line and make sure the materials, labor, and warranty are all specified.
- Skipping the pre-work walkthrough. Before any work starts, walk the space with the contractor and photograph existing conditions. That one step prevents a surprising number of post-remodel disputes.
See the difference
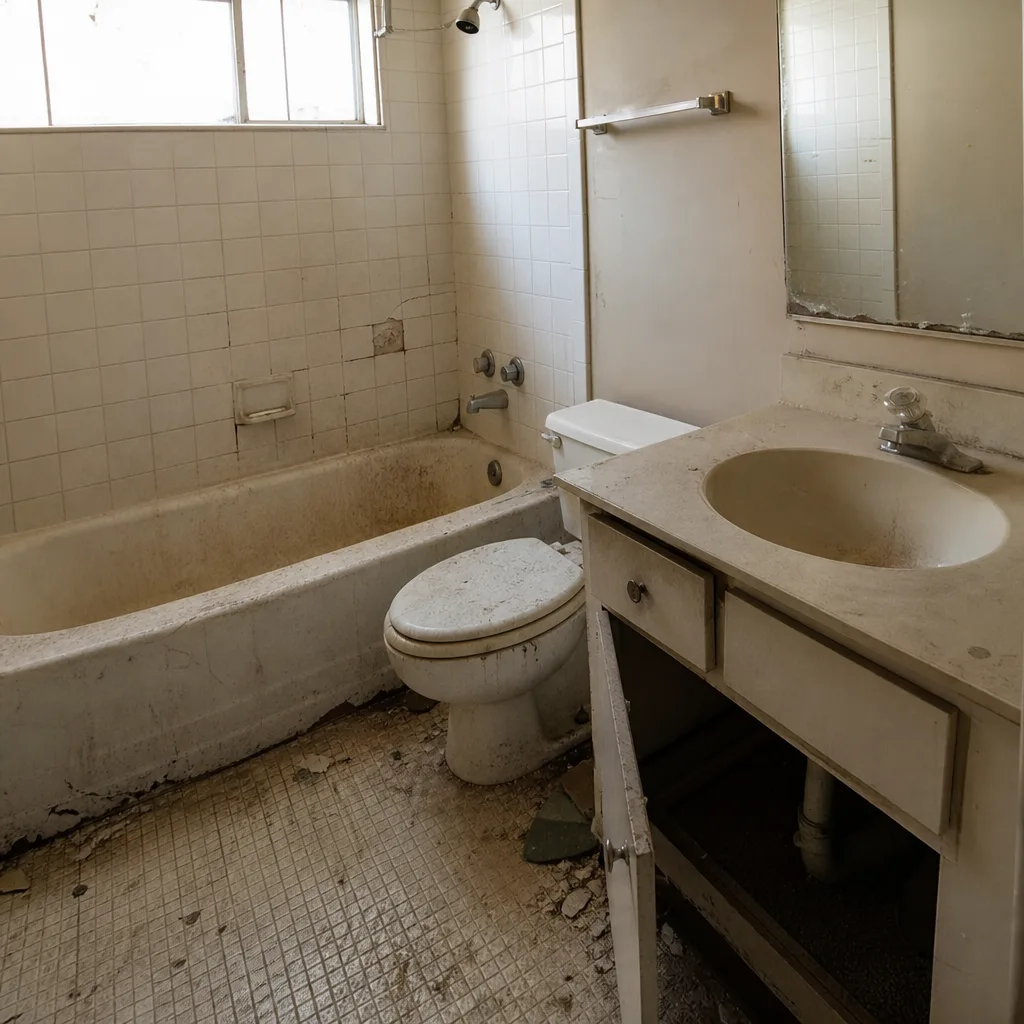 Before
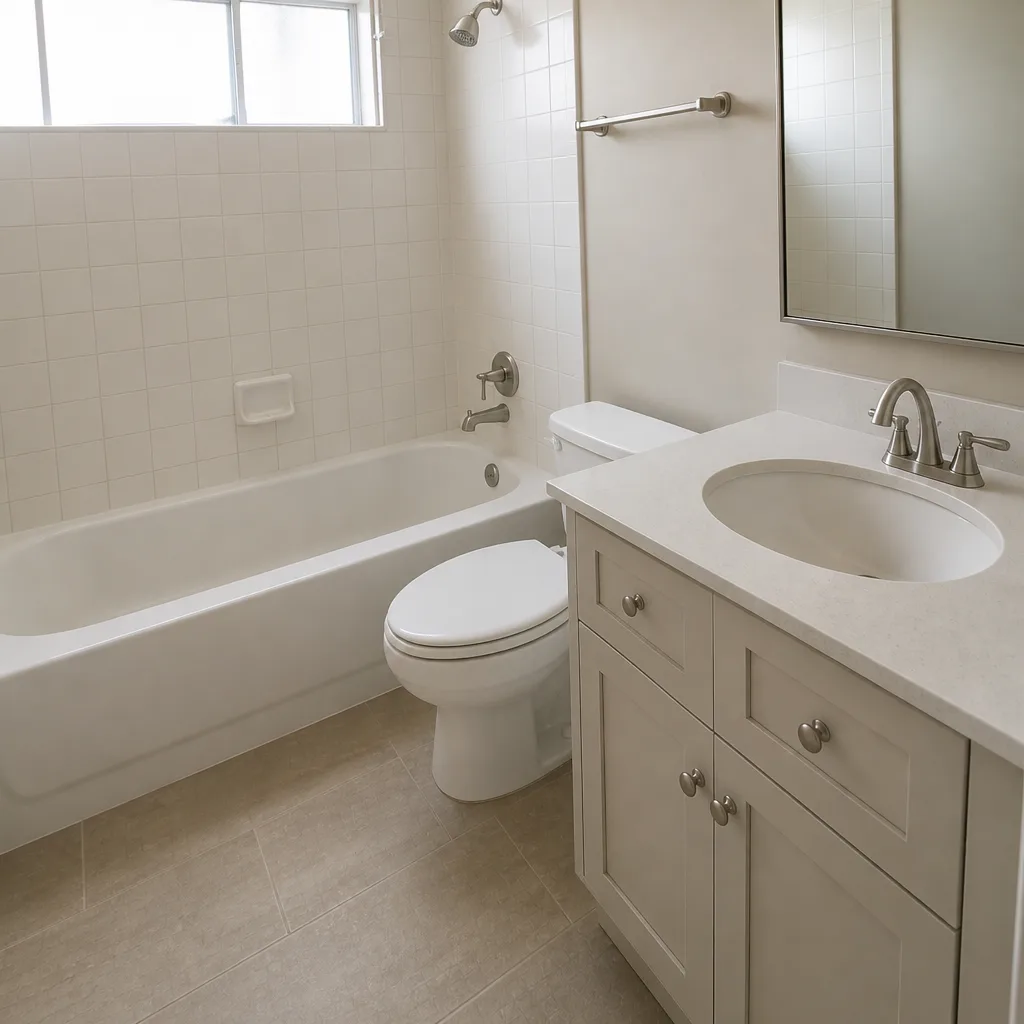 After
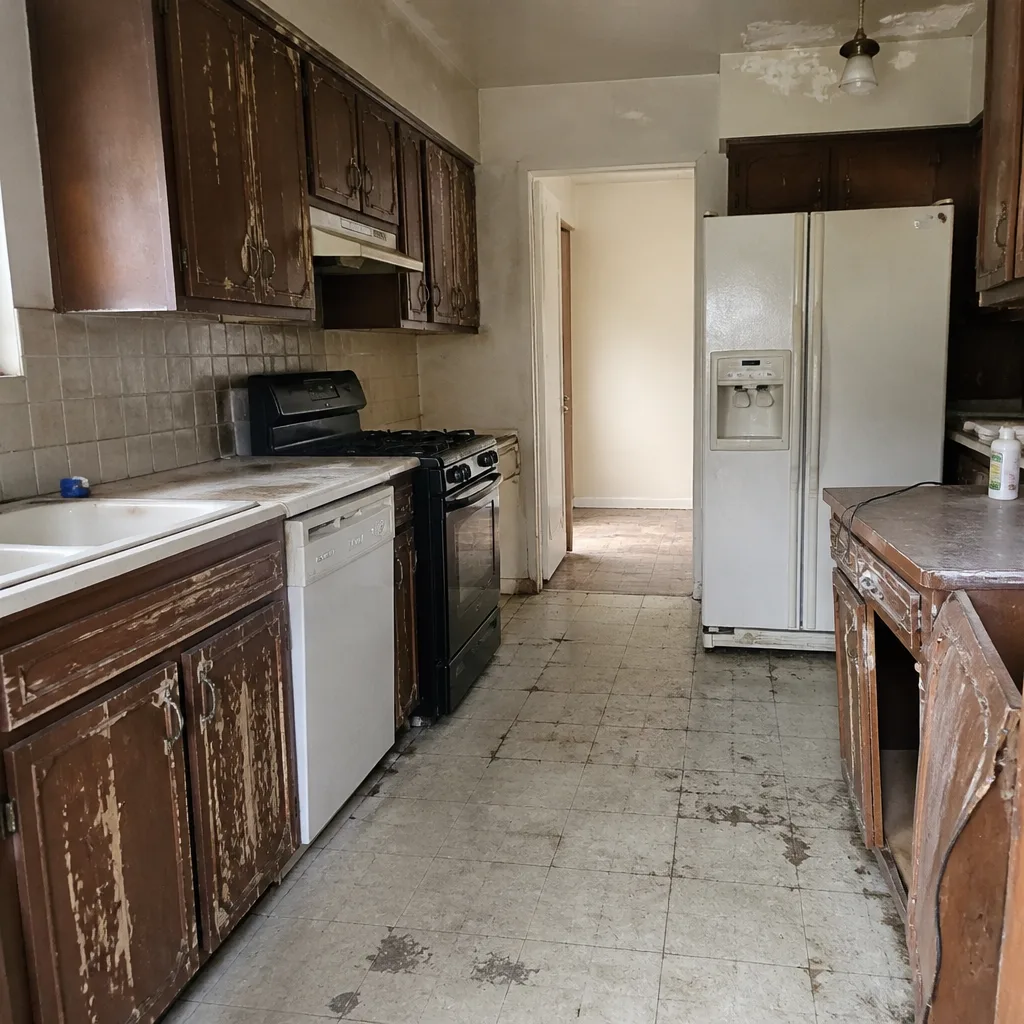 Before
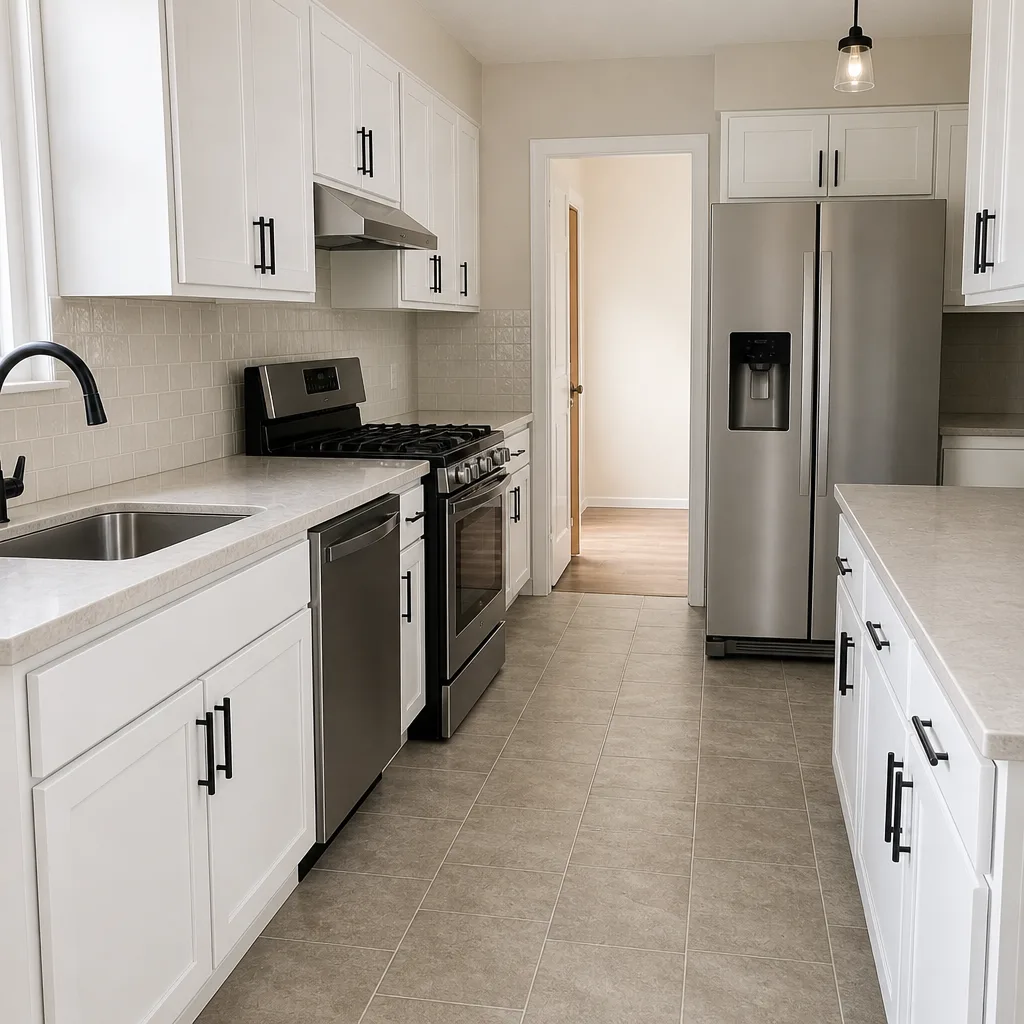 After
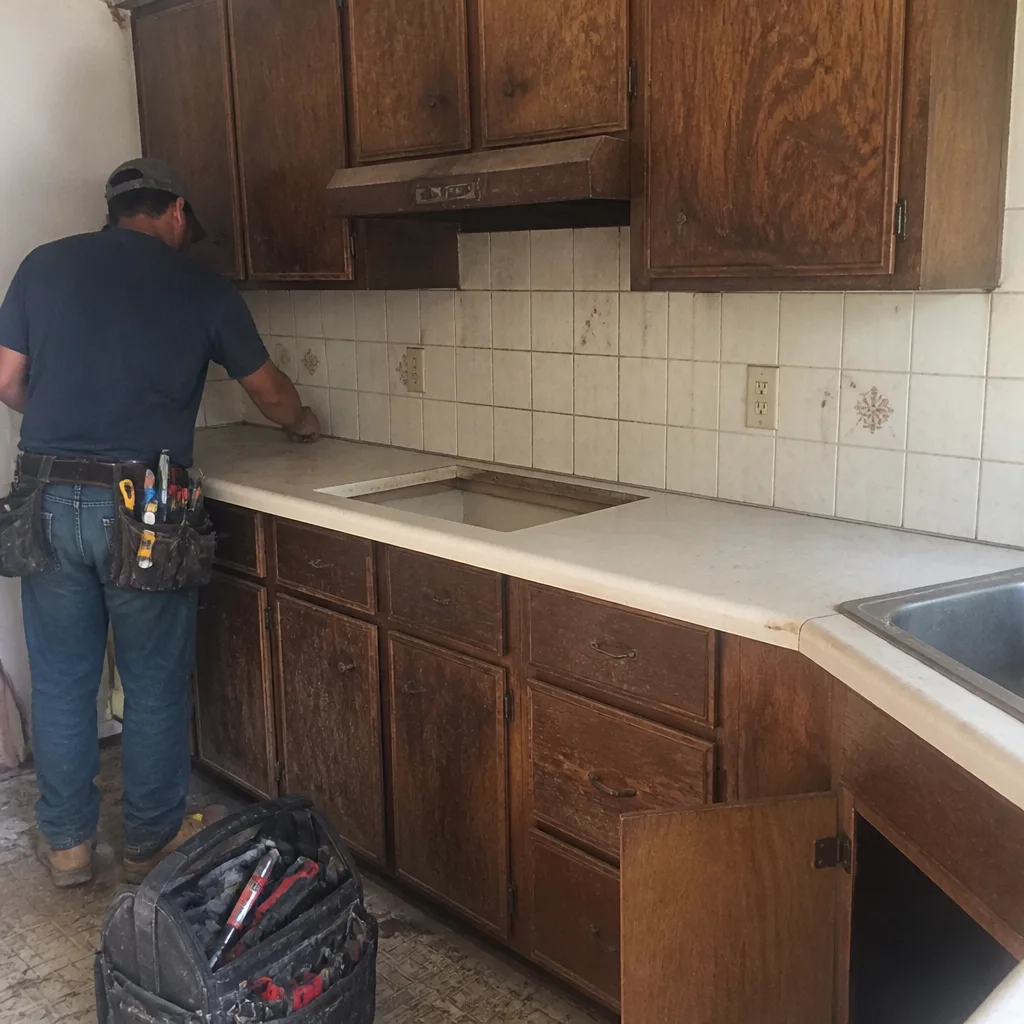 Before
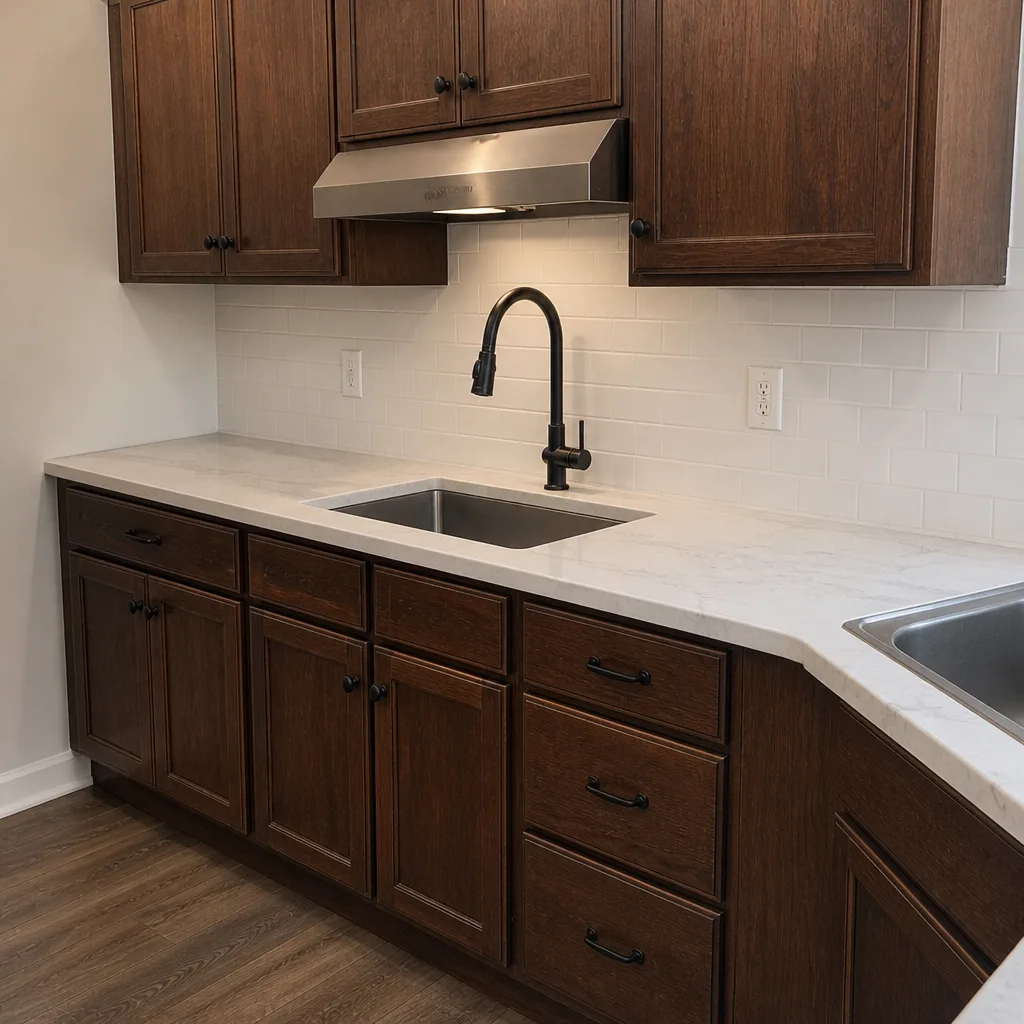 After
When to Call a Professional

Some problems are genuinely yours to handle: a caulk refresh, a touch-up paint job, a small grout haze on the backsplash. Others should go to a professional, fast. Call if a shower pan gap changes when you push on the pan, if a floor crack is wider than an eighth of an inch or running in a straight line, if paint peels in sheets rather than cracking at a joint, if tile sounds hollow in a pattern rather than at a single cut, or if your exhaust fan runs but doesn’t clear the mirror. Any of those could be a plumbing or structural symptom hiding behind a cosmetic one.
Penhallow Remodeling Irving offers free estimates in Irving – call (844) 320-5939 and we’ll come out, walk the problem with you, and put our findings in writing before any work starts.
Frequently Asked Questions
It depends on which of the four categories it falls into. Installation defects and workmanship failures are the contractor’s responsibility inside the warranty period. Material defects go through the manufacturer, and normal wear is yours. If you have a written guarantee with specific terms, the answer is written down. If you don’t, call a professional to assess the cause before you decide who pays. Call (844) 320-5939 for a free estimate if you’re in Irving and want an honest read.
Workmanship warranties on remodeling work commonly run one year, which is where the 365-day standard comes from. Some contractors offer longer coverage on specific systems, and product warranties from manufacturers like Kohler, Moen, Cambria, and James Hardie run independently and often longer. The warranty period should be written into your contract before work starts. If your contractor won’t put a warranty in writing, that’s your answer about how much the warranty is worth.
Stop using the shower or the wet area and document the leak with photos. Then send a written notice to your contractor with the date you first noticed it and the approximate location. Do not try to repair it yourself before the contractor inspects, because opening the assembly can cloud the cause. In Irving’s housing stock, slow leaks under older floors are common, and the earlier they’re caught, the cheaper the fix. Call (844) 320-5939 for a free estimate if you need a second read.
TDLR handles complaints about licensed trades: electricians, plumbers, and air conditioning workers. If your problem is with those trades, a TDLR complaint is a legitimate tool. TDLR does not generally license or regulate general contractors themselves, so for carpentry, cabinetry, or tile disputes, small claims court and a written contract are the stronger route. Confirm jurisdiction before you file so you don’t waste the effort.
Re-grouting a cracked grout joint typically runs $150 to $400 for a small area. Replacing one or two hollow tiles runs $200 to $500. Replacing a pattern of hollow tiles across a floor, however, can run $1,500 to $4,000 or more depending on square footage and whether the substrate needs work. That’s why determining the cause matters more than the cost of the first repair.
We do when a permit is required. Cosmetic repairs like caulk, paint, and grout generally don’t require permits. Structural work, plumbing relocations, electrical changes, and full bathroom or kitchen reconfiguration usually do. Every job we take on includes permits where required, and we pass inspection before we call the job done. Call (844) 320-5939 to walk through the permit requirements for your specific project.
The Bottom Line

Remodel problems come down to one thing: knowing who owns the fix. Installation defects belong to the contractor inside the warranty period. Material defects go through the manufacturer. Normal wear belongs to you, and pre-existing conditions should have been documented before work continued. The homeowner who has photos, emails, and a written guarantee walks into that conversation with all the leverage. The one who has a handshake and a text thread spends months negotiating over a $400 caulk job. Our advice, after everything we’ve seen in Irving: put the price in writing, put the guarantee in writing, and follow up every call with an email. If you want the process done that way from the start, call (844) 320-5939 for a free estimate.
Written by the team at Penhallow Remodeling Irving.