Last updated November 17, 2026






Free written scope consultation - allowances, timeline, and change-order rules on paper before a single trade is scheduled
Kitchen Remodeling Troubleshooting: Common Problems and How to Fix Them
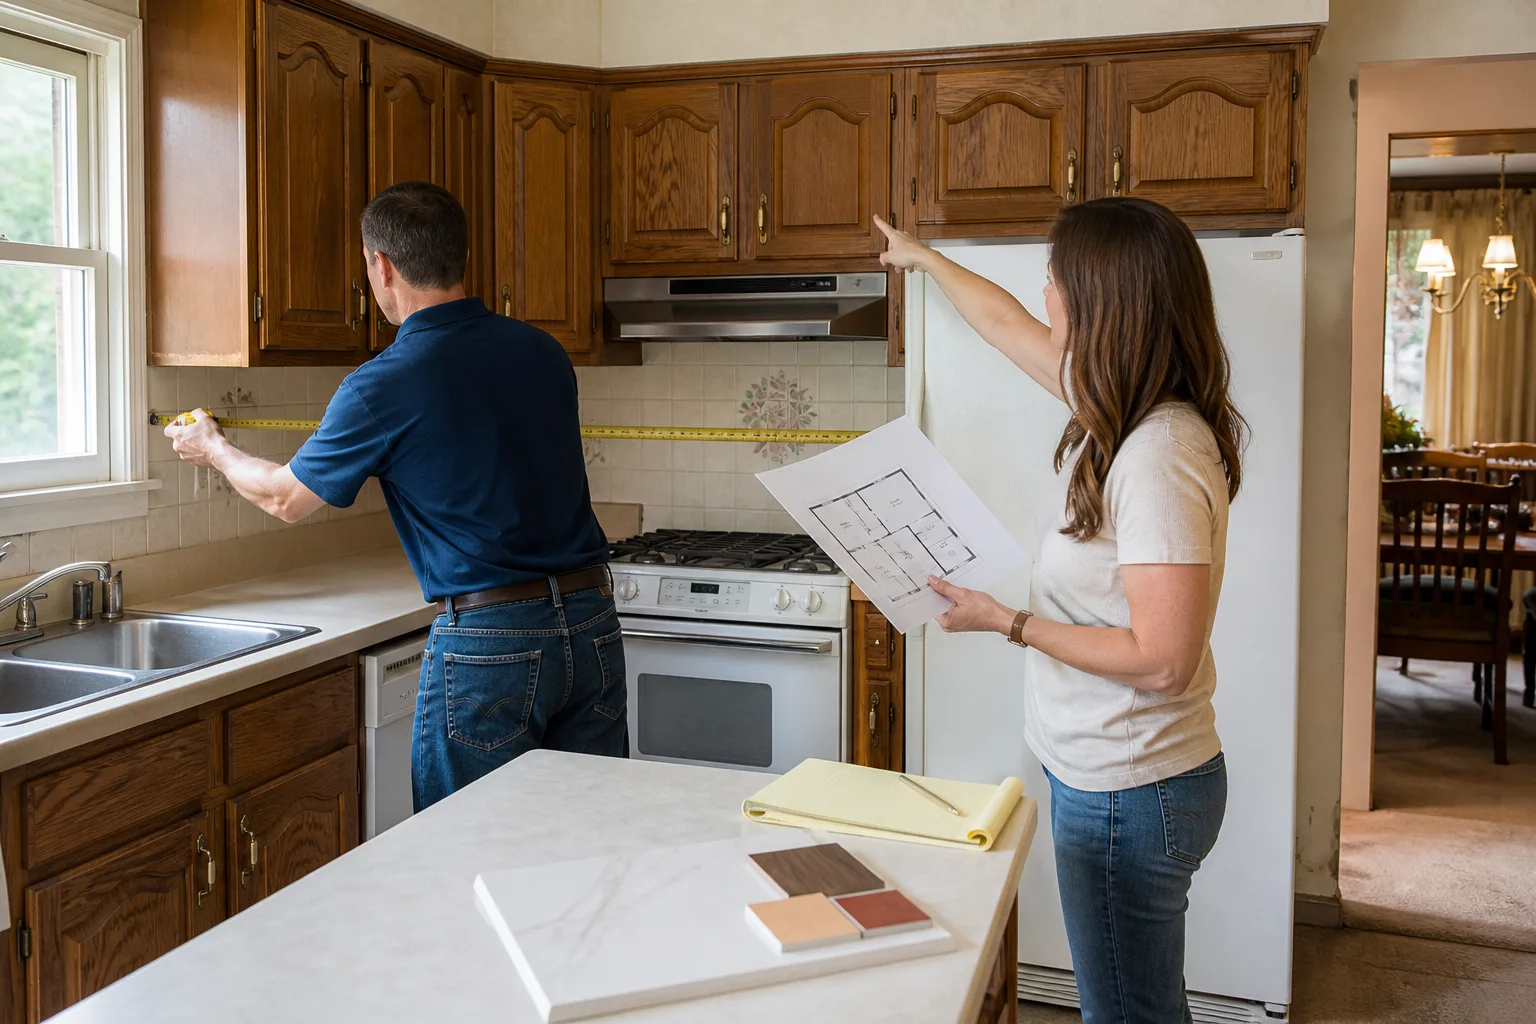
That cabinet door that won’t hang straight six months after installation isn’t a defect you have to live with. In almost every case, it’s one of three things: a hinge screw that pulled out of the cabinet box, a door that shifted because the cabinet frame settled, or a hinge plate installed into material that couldn’t hold it. All three are correctable, and knowing which one you’re looking at means you can call a contractor with a specific, documented ask instead of a vague complaint about how “the doors don’t work right.”
This guide walks through the post-installation problems we see most often in Irving kitchens: cracked grout, drifted cabinet doors, lifting countertop seams, popped caulk joints at the backsplash. You’ll get a symptom-to-cause diagnostic table, a plain-language breakdown of what a standard warranty covers and what counts as homeowner maintenance, and a documentation method that keeps a contractor from waving off a legitimate issue. If you’ve already been through a remodel and something’s off, this page helps you figure out what failed before you make the call.
Quick Answer
Most kitchen remodel problems that appear after installation come from one of five causes: substrate or underlayment flex under tile, cabinet boxes installed out of level or screwed into drywall instead of framing, countertop seams placed where there’s no support bracket or where the seam sits over a dishwasher cutout, thermal movement at the caulk joint between counter and backsplash, and slab settlement that cracks grout lines. Each has a distinct symptom, and each is either covered under a written workmanship warranty or falls into homeowner maintenance depending on the cause. Diagnosing the cause first is what separates a fast fix from a months-long argument. Kitchen Remodeling in Irving from a contractor who puts the workmanship warranty in writing before demo day gives you the leverage to resolve these problems without paying twice.
Styles & brands we work with
- Kitchen remodeling
- Bathroom remodeling
- Home additions & ADU
- Roofing
- Windows & doors
- Driveway & pavers
- Fence
Table of Contents
- Symptom-to-Cause Diagnostic Table
- Why Cabinet Doors Drift Out of Alignment
- Grout Cracks and Soft Spots in Tile
- Countertop Seams That Lift
- Problems We See Most Often in Irving Kitchens
- What Your Warranty Covers Versus What It Doesn’t
- How to Document a Problem So It Gets Fixed
- When You Need a Third-Party Inspection
Symptom-to-Cause Diagnostic Table
Before you call anyone, match the symptom you’re seeing to the likely cause. This table covers the eight problems we hear about most, and the underlying reason for each. The point isn’t to make you a diagnostician. It’s to give you a working theory you can describe on the phone.
| Symptom | Most Likely Cause | Correctable? |
|---|---|---|
| Cabinet door won’t close flush or won’t stay aligned | Hinge screws pulled from drywall or thin cabinet material instead of framing | Yes, usually with longer screws and blocking |
| Grout line cracks running along the grout joint | Subfloor deflection or underlayment flex beneath the tile | Sometimes. Depends on whether deflection can be corrected |
| Soft or crumbly spot in grout | Grout mixed too thin, cured too fast, or moisture from below | Yes, with regrouting |
| Countertop seam lifting or visible uneven edge | Seam placed without support bracket, or a seam over a dishwasher opening | Yes, with a re-supported seam |
| Caulk gap opening at counter-to-backsplash joint | Thermal movement, wrong caulk, or no backer rod for a wide gap | Yes, with proper elastic caulk |
| Drawer front no longer flush with cabinet box | Frame settled out of level or drawer glides out of adjustment | Yes, with adjustment or shimming |
| Outlet trips the breaker | Loose neutral, overloaded circuit, or crossed wire at the GFCI | Yes, but call a licensed electrician |
| Cabinet unlevel against the floor | Floor settling or original installation not shimmed to level | Yes, with re-shimming or floor correction |
If your symptom isn’t on this list, the honest answer is to call and describe it. A written-price contractor will send someone to look, give you a real number for the fix, and tell you whether it’s covered.
Why Cabinet Doors Drift Out of Alignment
Cabinet doors that hang crooked six months after installation almost always trace to the hinge screws. European-style concealed hinges fasten with two screws into the cabinet box. If those screws went into drywall, into the back of thin cabinet board, or into a spot where the manufacturer thinned the material, the screw walks out over hundreds of open-and-close cycles. The door sags a millimeter at a time, and eventually the gap along the door edge is visibly off.
There are three failure modes:
- Screw pulled from soft material. The screw holes are enlarged and the hinge plate wobbles when you press on it. Fix: longer screws into solid framing, or a wooden plug glued into the old holes.
- Cabinet box out of level. The doors themselves haven’t moved relative to the box, but the whole box settled on one end. Fix: shim under the cabinet and re-fasten to the wall studs.
- Hinge adjustment drifted. The hinge has three adjustment screws (depth, height, and side). The door moved because the adjustment loosened. Fix: a 30-second realignment with a Phillips head.
In our experience on Irving remodels, the third cause is the one homeowners can fix themselves. Turn each adjustment screw a quarter turn, close the door, check the gap. If the gap changes, it’s adjustment. If the whole door feels loose against the box, it’s the hinge-to-box connection, and that’s a warranty call. A contractor who installs KraftMaid or Wellborn cabinetry, both of which carry their own hinge and box warranties, should be able to resolve a hinge failure quickly.
Grout Cracks and Soft Spots in Tile
Grout that cracks in straight lines along the joint, particularly at the perimeter of the floor or where tile meets cabinet toe kick, is usually telling you the substrate moved. Tile is brittle. It doesn’t flex. When the surface it’s bonded to flexes more than an eighth of an inch over a ten-foot span, the grout takes the stress and cracks.
There are two common causes and one less common one:
- Subfloor deflection. The joist system under the kitchen bends more than the tile can tolerate. This is a framing issue, not a tile issue. The fix is either adding a layer of plywood underlayment before tile (which requires pulling up the floor) or, if the deflection is small, using a crack-isolation membrane on top of the existing underlayment.
- Missing cement board substrate or an improperly bedded one. Cement board substrate is the moisture-resistant layer behind tile. It needs thinset under it, not just screws through it, and the joints need to be taped and bedded. If it was dry-set with screws only, it flexes underfoot and the grout cracks.
- Settlement crack along a slab. On slab-on-grade floors, the slab moves seasonally and can pull a hairline crack through the tile above it.
Soft spots in the grout, meaning the grout crumbles when you press it with a fingernail, point to a different problem: the grout was mixed too wet, allowed to cure too fast in direct sun, or is being pushed from moisture below. A soft spot in a grout line is usually a regrout and nothing more serious. A recurring crack along the same line after two regrouts is a substrate problem, and it’s worth the conversation.
Countertop Seams That Lift
A visible countertop seam – the line where two slabs of quartz or granite join – can lift at one edge, show a gap, or feel uneven when you run your hand across it. When a seam lifts, one of three things went wrong:
- Improper seam placement. Every natural or engineered stone counter has seams; the question is where they land. A seam placed directly over a dishwasher cutout has no support beneath it, and the counter flexes across that opening every time someone leans on it.
- Missing or undersized support bracket. A good installer uses a mechanical support bracket or a strip of plywood epoxied under the seam. Without that support, the seam works open over months of use.
- Adhesive failure. The seam adhesive (usually a two-part epoxy color-matched to the stone) didn’t cure properly, or the surface wasn’t clean when the seam was glued. This shows as a soft or gummy seam rather than a gap.
Cambria, Silestone, and Caesarstone quartz all carry manufacturer warranties on the slab material itself, but the seam is a workmanship issue and lives under the installer’s warranty. A lifted seam is usually fixable without replacing the slab. The installer cleans the old adhesive out, adds a support bracket if it’s missing, and re-glues with color-matched epoxy. It takes about two hours and the counter stays in place. If you’ve had a seam lift twice in the same spot, the placement itself is wrong and the fix requires a biscuit joint or a re-cut.
Problems We See Most Often in Irving Kitchens
Kitchen failures are regional. The clay soils under much of Irving shift more across a wet-to-dry cycle than the soils under homes on bedrock, and that movement shows up in kitchens as cracked grout along slab joints and cabinet boxes that settle out of level by a quarter inch or more over a single dry summer. Homes in the Valley Ranch and Las Colinas areas sit on some of the more active clay, and homes closer to the Trinity River floodplain see more seasonal movement than homes further north in Irving.
The other homeowner-side problem we see in Irving is the caulk joint between counter and backsplash opening up. The joint is meant to be elastic. It takes thermal movement as the kitchen heats and cools and as the house itself moves. When it opens repeatedly, three things are usually wrong:
- The installer used a rigid grout or painter’s caulk instead of a proper kitchen and bath silicone caulk. Rigid fillers can’t stretch.
- The gap was too wide for the caulk bead, and there’s no backer rod behind it. A wide gap needs foam backer to give the caulk something to push against.
- The counter itself is moving, which goes back to the support bracket question above.
Caulk failing once is maintenance. Caulk failing three times in the same joint means the installer used the wrong material and needs to come back with the right one. That’s a workmanship issue, not something the homeowner should be re-caulking every spring.
Two more Irving-specific patterns we’ve seen. First, kitchens installed over a post-tension slab can show longer, straighter grout cracks than a home on pier-and-beam, because the slab is a continuous surface. Second, homes built in the 1980s and 1990s across Irving often have subfloor systems that were fine for the original sheet vinyl but are not stiff enough for large-format tile, and the fatigue shows up around year three. If your kitchen went to tile over the original subfloor without an added underlayment layer, keep an eye on the grout lines.
What Your Warranty Covers Versus What It Doesn’t
Most workmanship warranties cover installation failures. They don’t cover wear and tear, damage from misuse, or problems that stem from a pre-existing condition the homeowner didn’t want to correct during the remodel. Knowing which category a problem falls into is the difference between a free return visit and a paid repair.
Covered under a written workmanship warranty:
- Cabinet doors that drifted because the hinge screws pulled from material that couldn’t hold them
- Grout that cracked because the underlayment was improperly bedded or the substrate was too thin for the tile
- Countertop seams that lifted because of missing support brackets or improper seam placement
- Caulk joints that re-opened because the wrong caulk was used
- Drawers that pull out of alignment because the glides weren’t set correctly at installation
- Plumbing or electrical connections that leak or trip because a fitting or wire was installed wrong
Generally considered homeowner maintenance:
- Caulk joints that opened after several years of normal seasonal movement (a single failure after five-plus years is expected; re-caulk is a routine task)
- Grout discoloration from cleaning products, spills, or cooking splatter
- Cabinet hardware that loosened from use
- Touch-up paint on cabinet faces where the finish wore from daily contact
- Floor damage from a dropped object, water intrusion, or pet accidents
The fine print matters. A warranty that says “one year on workmanship” is different from a 365-day guarantee that says the contractor will come back and fix a failed repair at no charge. The second one is stronger because it commits to the return visit. Every project under the Kingswell Guarantee carries a written guarantee and a 365-Day Done Right Promise: if the work fails within the guarantee period, the contractor comes back and fixes it at no charge, and if a repair fails, the return visit is free with no service call and no re-inspection fee. Read the fine print on any warranty you’re given, and ask which problems are excluded from coverage in writing before the job starts.
How to Document a Problem So It Gets Fixed
A contractor can dismiss a vague complaint. “The kitchen looks bad” is not a service request. A documented problem with photos, a written description, and a reference to the original scope of work is a request with a due date, and it’s much harder to wave off.
- Photograph the problem with a dated reference. Take a wide shot of the whole area, then a close-up of the failure, then a second close-up with a coin or a tape measure against the gap or crack so the size is obvious. Photos timestamp automatically on a phone; keep them.
- Write a one-paragraph description. Include the date you noticed the problem, the location in the kitchen, what you’re seeing, and whether it’s changed since you noticed it. “The caulk joint between the counter and backsplash on the sink wall opened about 1/8 inch on June 3 and has widened to about 3/16 by June 20” is far more useful than “the counter is coming apart.”
- Reference the original scope of work. Pull the contract or the written proposal and quote the line that covers what failed. “Your proposal dated March 12 lists ‘install backsplash and caulk counter joint,’ and the joint has opened twice since install” gives the contractor a direct scope to point at.
- State a reasonable response expectation. Ask when someone can come look. For a cosmetic issue, a week is fair. For something that’s causing water damage or a safety hazard, same-week is fair. Give the contractor a chance to schedule before escalating.
- Send it in writing. Email with photos attached is the easiest record to keep. A text thread works, but email is better for long-term retention. Save the reply.
In our experience, a documented problem gets resolved faster than a phone complaint. The contractor knows you’re serious and knows you have the record. Most written-price contractors, including Penhallow Remodeling Irving, will honor a documented workmanship issue without argument.
When You Need a Third-Party Inspection
Most post-installation issues get resolved with a return visit and a two-hour fix. A few don’t. Here’s when to escalate to a third-party inspection instead of another adjustment call:
- The same failure repeats after two proper repairs. If your counter seam has lifted twice after two documented repairs, the placement is wrong and adjustment won’t fix it. A third-party inspection gives you a written cause and a scope for the real fix.
- The contractor disputes the cause. If the contractor says the crack is your fault and you have documentation showing otherwise, an inspector’s written opinion resolves the dispute.
- The problem is structural. Cabinet unlevel due to floor settling, subfloor deflection under tile, or a slab crack that propagates through a tile field all deserve a structural look. A general contractor or structural engineer can tell you whether you’re looking at a cosmetic fix or a foundation issue.
- The problem is a safety issue. Any electrical circuit that trips the breaker repeatedly, any gas connection that smells, any water line that’s leaking behind a cabinet. Do not wait for a scheduled visit. Shut off the relevant supply, call a licensed trade, and get it corrected. A General Contractor in Irving can coordinate the trade if the issue is under warranty.
An inspection typically runs $350-$750 for a residential causation report. It’s worth it when the repair cost is over $1,500 or the dispute has stalled. For a $200 regrout, it’s not.
Common Mistakes to Avoid
- Re-caulking a gap with the wrong material. Painter’s caulk and grout cannot stretch across a moving joint. The correct material is a 100% silicone kitchen and bath caulk. Buy the right tube the first time.
- Assuming a crack is cosmetic. A hairline grout crack is cosmetic. A crack that opens and closes across the seasons is a substrate problem, and regrouting it a third time is money down the drain. Get the substrate looked at.
- Placing a counter seam over a dishwasher or pull-out trash. In our experience this is the single most common cause of a lifted seam. If you’re planning a new counter, ask where the seams will land and require support brackets under every one.
- Skipping the written proposal when comparing bids. A written number you can hold the contractor to before work starts is the whole point. Verbal ballparks change on demo day, and the change orders come out of your pocket.
- Not photographing the failure. Photos with a date stamp are evidence. A verbal description is not. Snap them before the contractor walks in.
- Tolerating a second failure of the same joint. Once is bad luck. Twice is a workmanship issue that should be diagnosed, not patched. Say so.
- Assuming every post-install issue is a warranty claim. The warranty covers installation failures, not maintenance wear. Read the fine print on the front end, and you won’t be surprised on the back end.
See the difference
 Before
 After
 Before
 After
 Before
 After
When to Call a Professional
Call a professional for cabinet doors that are loose against the box (not just out of adjustment), for countertop seams that have lifted or separated, for grout that cracks repeatedly along the same line, for any electrical circuit that trips the breaker, for water where it shouldn’t be, and for cabinet boxes that are visibly unlevel against the floor or wall. These are workmanship issues that need diagnosis, not maintenance calls. Loose hinge screws in drywall need new blocking and longer fasteners. A lifted seam needs a support bracket and re-gluing. Repeated grout cracks need substrate review. None of these are do-it-yourself fixes if the goal is a permanent repair.
Penhallow Remodeling Irving offers free estimates in Irving and stands behind every job with a written price before work starts, a 365-Day Done Right Promise that guarantees a return visit at no charge if the work fails inside the guarantee period, and a free second visit if the repair itself fails. Background-checked, uniformed technicians arrive in the window we gave you. Call (844) 320-5939 to schedule your free estimate.
Frequently Asked Questions
The three most common causes are hinge screws that pulled from drywall or thin cabinet material instead of solid framing, a cabinet frame that settled out of level, and hinge adjustment that drifted from use. Check whether the door is loose against the cabinet box (screw problem) or just out of alignment (adjustment problem). Adjustment is a quick fix with a screwdriver; a loose hinge needs new blocking and is a warranty call.
Grout cracks when the substrate beneath the tile flexes more than the tile can tolerate. That’s usually subfloor deflection from joists that are undersized for a tile floor, an underlayment that wasn’t bedded in thinset, or slab movement beneath a slab-on-grade kitchen. Straight-line cracks along the perimeter of the floor point to substrate flex; a soft, crumbly spot in the grout usually points to a mix or cure issue and is fixable with regrouting. Call (844) 320-5939 for an assessment if the crack has returned after two prior repairs.
Usually yes, if the seam lifted because of improper seam placement or a missing support bracket. Those are installation failures, not material failures, and they fall under the workmanship warranty. If the seam lifted because the counter was damaged after install, that’s a different category. Document the failure with photos and refer to the original scope of work in your written request. Call (844) 320-5939 for an exact quote if the seat needs re-gluing and support.
Typical Irving-area costs: regrouting a small tile area runs $200-$450; resetting and re-gluing a lifted countertop seam with a new support bracket runs $350-$650; cabinet door realignment with new blocking runs $150-$400; re-caulking a counter-to-backsplash joint runs $100-$250; a full substrate repair under a small tile field runs $900-$2,200. Full kitchen remodels in Irving typically run $18,000-$55,000 depending on layout, cabinet line and countertop material. Call (844) 320-5939 for a written quote that matches your actual job.
Not with a written-price contractor. Under the Kingswell Guarantee, every homeowner gets a written number before any work starts, and the number on day one is the number on the invoice. If the diagnosis reveals a larger problem than the initial call suggested, you get a new written scope and a new written price before anyone picks up a tool, and you can decide whether to proceed. Call (844) 320-5939 to schedule a free estimate.
A third-party inspection makes sense when the same failure has recurred after two proper repairs, when the contractor disputes the cause and you have documentation showing otherwise, when the problem is structural (floor settling, subfloor deflection, slab cracks), or when the problem is a safety issue like a tripping breaker or a gas smell. For cosmetic issues and one-time failures, a normal service call resolves it. Inspections typically run $350-$750 and are worth it when the repair is over $1,500 or the dispute has stalled.
If you’re planning a new kitchen and want to see how a written-price scope looks from the front end, Bathroom Remodeling in Irving and our Penhallow Remodeling Irving home page show the same approach applied to other rooms. Our technicians have up to 22 years of experience diagnosing exactly these kinds of post-installation failures, and we draw materials from KraftMaid and Wellborn cabinetry, Cambria, Silestone and Caesarstone quartz, and Kohler and Moen fixtures. Products that carry their own manufacturer warranties stack on top of the written workmanship guarantee we put on every project.
The Bottom Line
Most kitchen issues that show up after installation trace back to a small set of causes: hinge screws in the wrong material, substrate flex under tile, seams placed without support, and caulk joints filled with the wrong material. Each one has a symptom you can identify, a fix you can describe, and a warranty category it belongs to. Document the failure with photos and a written description, reference the original scope of work, and ask for a specific response. That’s what gets a legitimate problem fixed. If you’re in Irving and looking at a kitchen that’s working against you, or you’re planning a remodel and want the price and the guarantee in writing before demo day, give us a call.
Call (844) 320-5939 to schedule your free estimate. Live phone coverage 24/7, a live person on every call, no voicemail maze. We’ll show up in the window we give you, put the price in writing, and stand behind the work with the 365-Day Done Right Promise.
Written by the team at Penhallow Remodeling Irving.